Feeding your little one shouldn't be a stressful experience, and the Philips Avent Digital Bottle and Baby Food Warmer is designed to make it easier. This convenient device offers precise temperature control and gentle warming for both bottles and baby food jars, ensuring your baby's meal is always ready at the perfect temperature. Say goodbye to guesswork and inconsistent heating methods that can potentially scald or leave your baby's food too cold. This clever warmer eliminates the guesswork associated with traditional methods, providing a safe and reliable way to prepare your baby’s feed.
This user-friendly guide will walk you through the simple steps of using the Philips Avent Digital Bottle and Baby Food Warmer, from initial setup to cleaning. We'll cover everything you need to know to confidently and efficiently warm your baby's bottles and food, offering tips and tricks along the way to ensure optimal results. Let's get started with a step-by-step process that will have you warming bottles and food like a pro in no time.
Preparation and Safety Guidelines
- Always supervise children around the warmer and never let them operate it. The warmer gets hot and could cause burns.
- Ensure the bottle or food container is compatible with the warmer. Using incompatible containers could lead to damage or uneven heating.
- After each use, unplug the warmer and let it cool completely before cleaning. Never immerse the base in water.
Step-by-Step Instructions
Setup
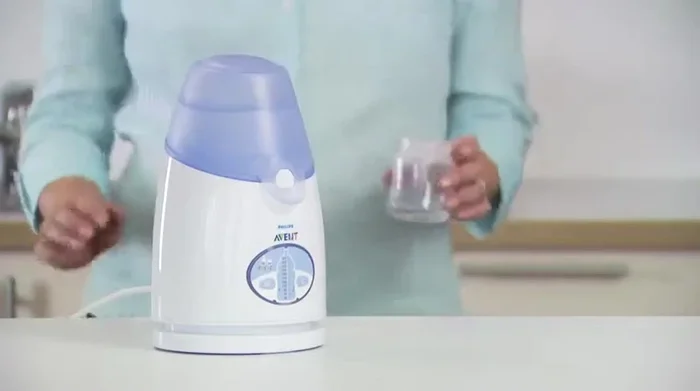
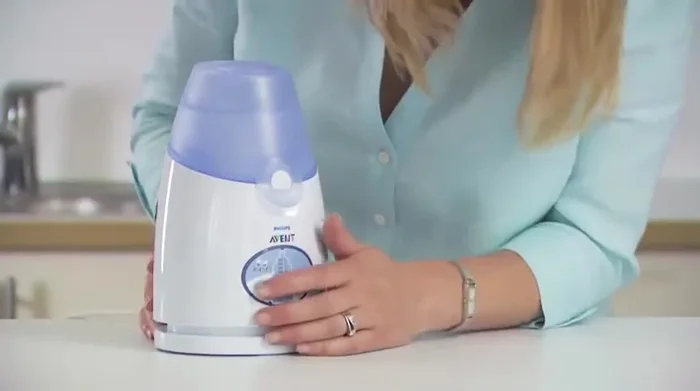
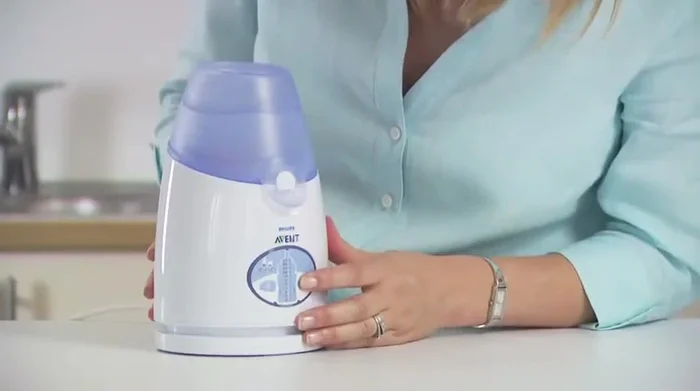
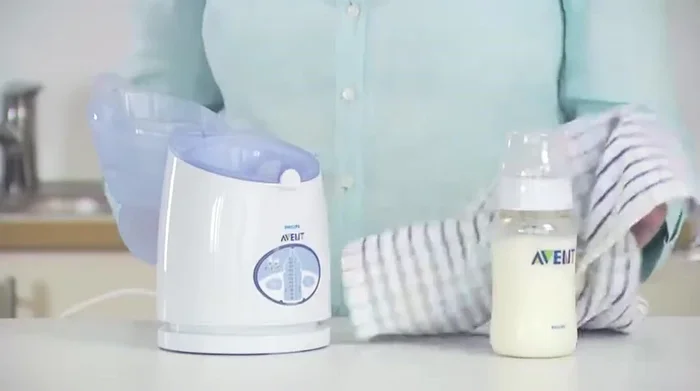
- Place the warmer on a firm, level surface.
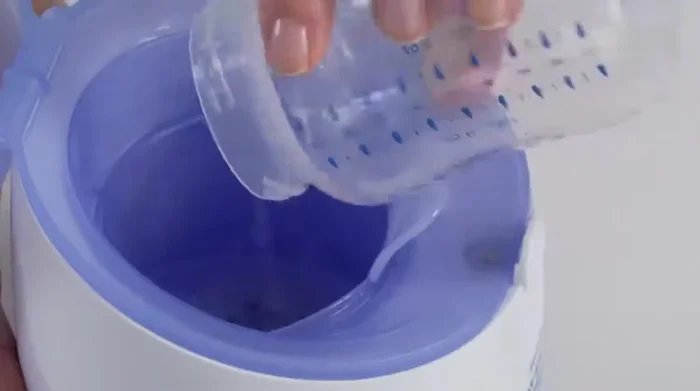
- 30ml (1oz) for milk (room or fridge temp), 150ml (5oz) for frozen milk or food.
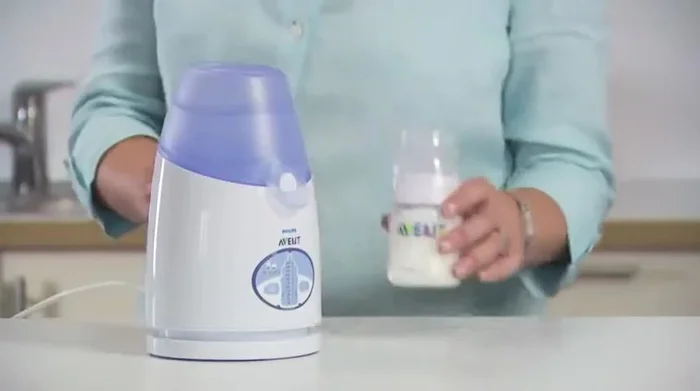
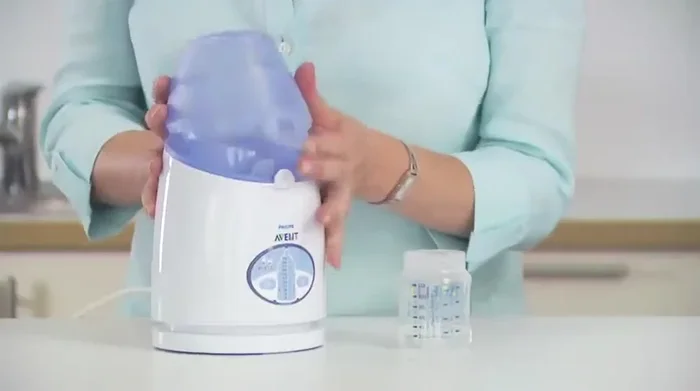
- Place the assembled bottle (with cap/container and lid) in the warmer. For food jars/tins, refer to manufacturer instructions.
- Close the lid securely until it clicks.

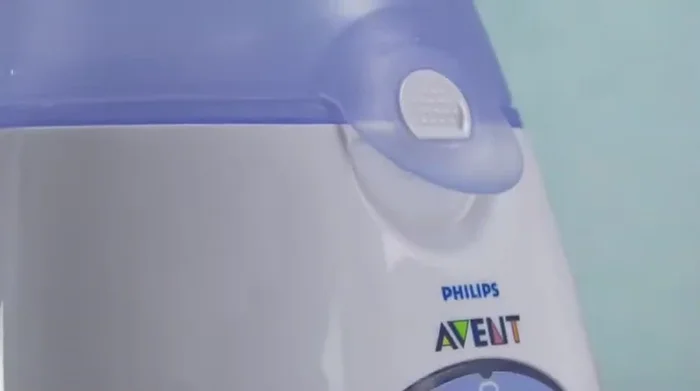
Setup - Plug in the warmer and press the mode selection button for three seconds to turn it on.
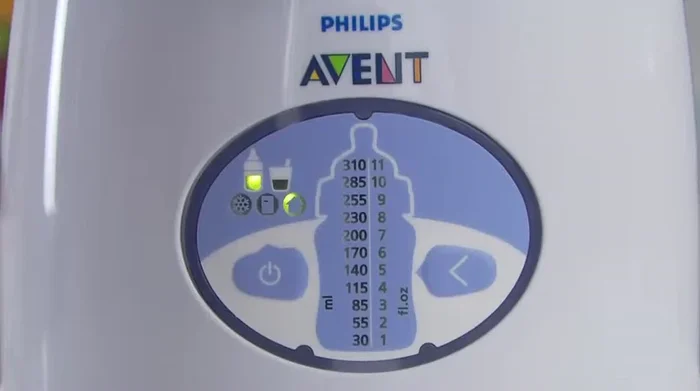
Setup Select Warming Settings
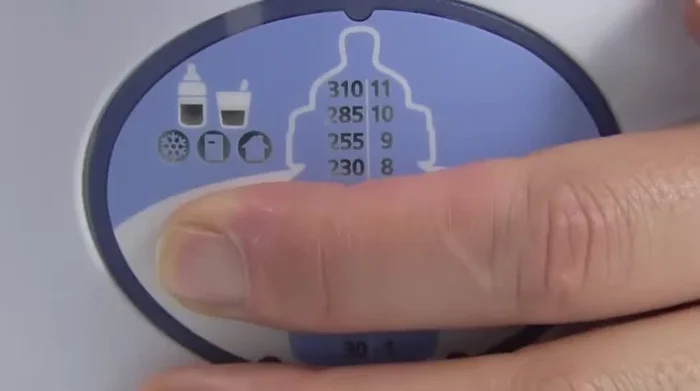
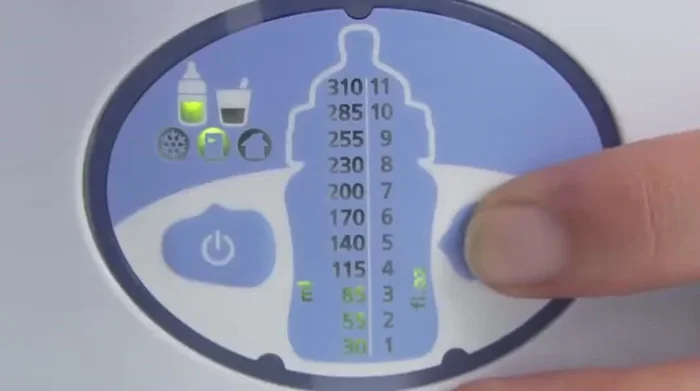
- Select the warming mode (milk - room temp, chilled, or frozen; food - room temp, chilled, or frozen) using the mode selection button.
- Select the amount of milk or food using the volume selection button. If the exact amount isn't shown, choose the closest option. For grams, use the equivalent milliliter amount.
Select Warming Settings Start and Monitor Warming
- Press the volume selection button again to start the warming cycle (warmer will beep).
- Do not open the lid during the warming cycle.
- Once complete, the warmer will beep intermittently for 30 seconds, and lights will flash. Remove the contents; the warmer will turn off automatically after three minutes.
Start and Monitor Warming Check Temperature and Feed
- Always check the temperature before feeding. For milk, shake and test on your wrist; for food, stir and test with a spoon.
Check Temperature and Feed Clean and Store
- Unplug the warmer and empty any residual water. Clean with a damp cloth. To remove the lifter, push the handle away, rotate a quarter turn, and lift out.
Clean and Store
Read more: How to Use the Munchkin's Feed Bottle Warmer: A Step-by-Step Guide
Tips
- Not recommended to warm food jars/tins from frozen; they may crack. Use Avent storage cups instead.
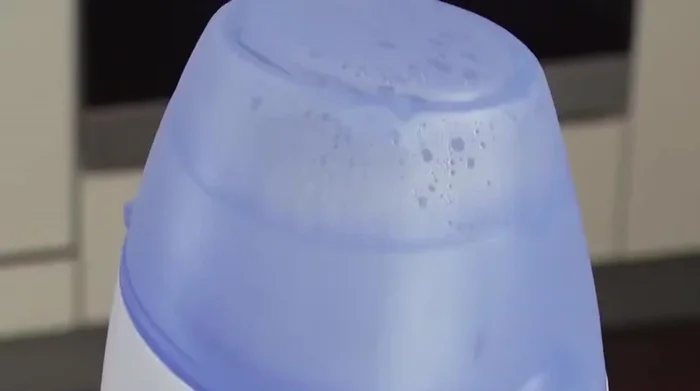
- Use caution when opening the lid due to steam.
- Use a cloth when removing the container as it may be hot.
- Use the lifter to raise small bottles and food jars. Don't remove the lifter from the warmer.
- For additional containers, simply refill with water and restart.