Feeding your little one shouldn't be a stressful experience, and ensuring their milk is at the perfect temperature is a key part of that. Many parents rely on bottle warmers to achieve this consistently and conveniently, and the Munchkin's Feed Bottle Warmer is a popular choice for its ease of use and effective warming capabilities. This handy device simplifies the process of preparing a warm bottle, saving you valuable time and ensuring your baby's comfort. It's particularly useful during those late-night feeds or when you're on the go.
This guide provides a comprehensive, step-by-step tutorial on how to expertly use the Munchkin's Feed Bottle Warmer. Whether you're a seasoned parent or a first-timer, follow these simple instructions to quickly and safely warm your baby's bottle, guaranteeing a pleasant feeding experience for both you and your little munchkin. Let's get started!
Preparation and Safety Guidelines
- Munchkin's Feed Bottle Warmer
- Measuring Cup
- Always unplug the warmer from the power outlet before cleaning or filling with water. Never immerse the warmer in water.
- Never leave the warmer unattended while in operation. Always supervise young children around the warmer.
- Ensure the bottle and nipple are compatible with the warmer and follow the manufacturer's instructions for specific bottle types.
Step-by-Step Instructions
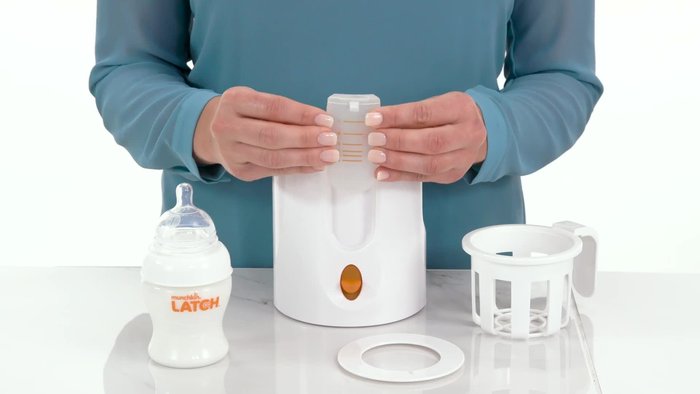
Prepare the Warmer
- Place the warmer on a flat surface, out of reach of children, and ensure it's unplugged.
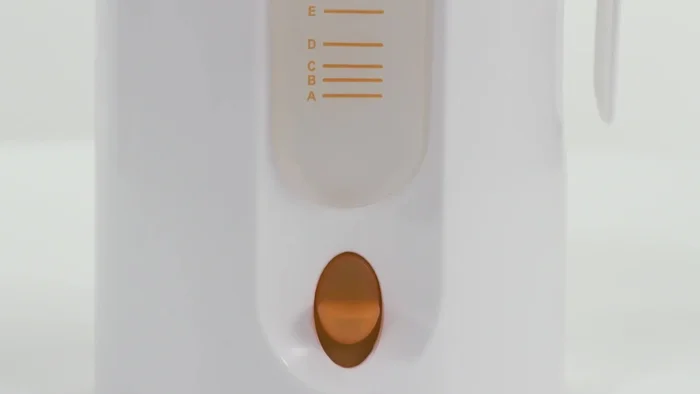
- Fill the warmer with water using the measuring cup. For a 4-ounce bottle, fill to line B.
- Place the measuring cup back in its storage area.
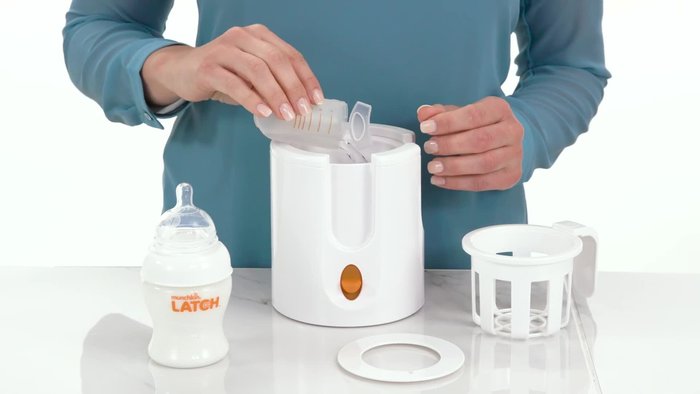
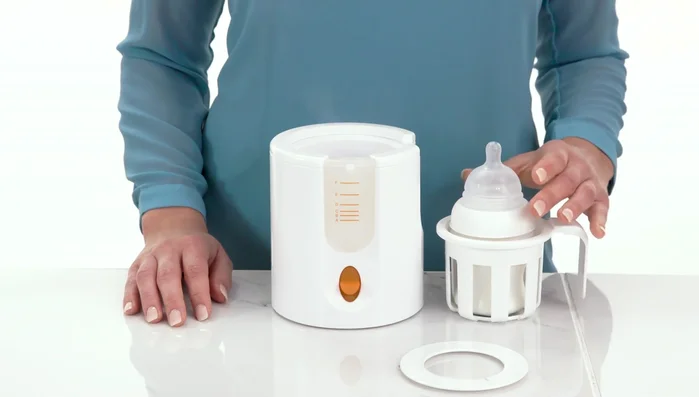
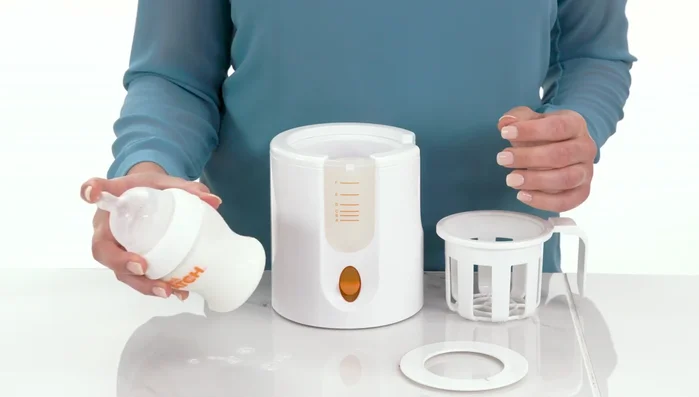
- Place the lifting basket into the warming chamber before adding the bottle or food jar.

Prepare the Warmer Place Bottle in Warmer
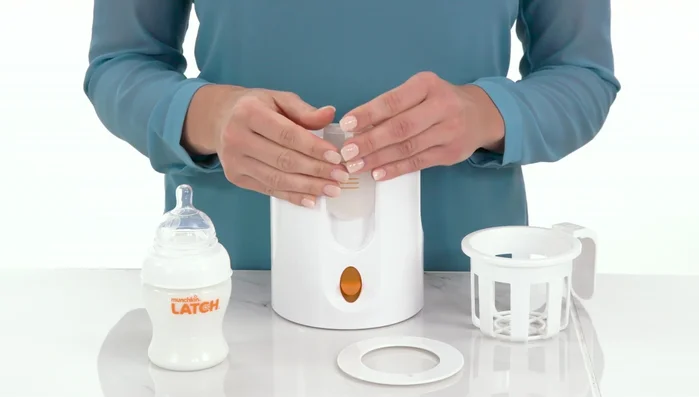
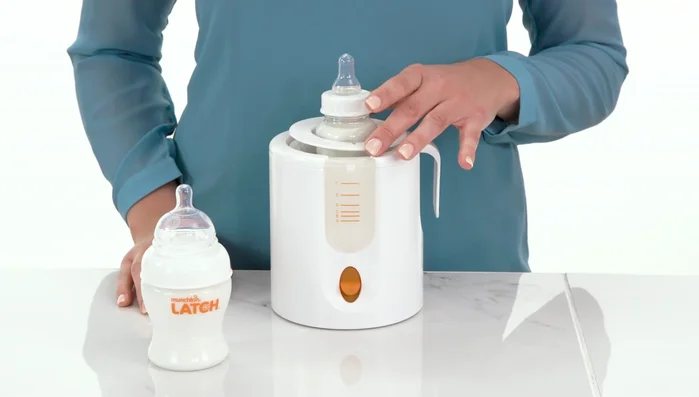
- Place the bottle into the basket. Use the adapter ring to cover any gaps around the bottle for even warming (if necessary).
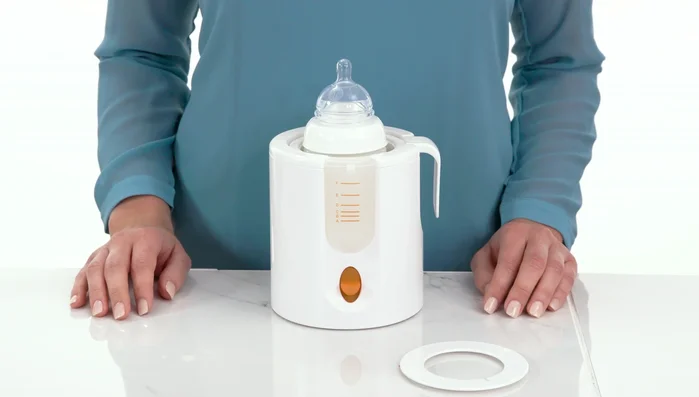
Place Bottle in Warmer Activate and Heat
- Plug in the warmer and turn it on using the on button.
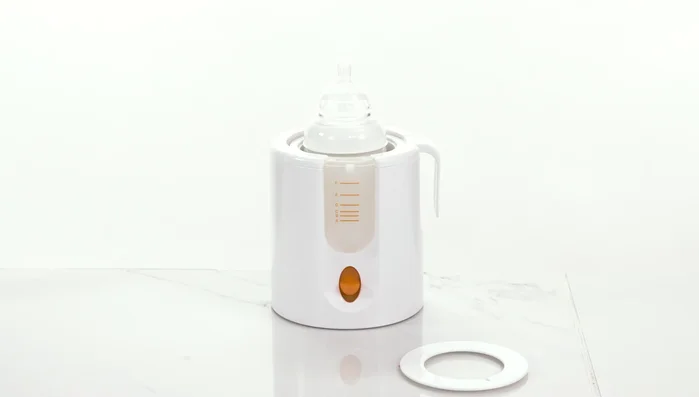
Activate and Heat Remove and Check Bottle
- Remove the bottle using the basket once the light indicates it's heated. Avoid overheating.
- Shake the bottle and check the temperature before feeding your infant.
Remove and Check Bottle Cool Down
- Allow the unit to cool for 5 minutes before reusing.
Cool Down
Tips
- Always place the lifting basket in the warmer *before* adding the bottle.
- Use the adapter ring to improve insulation and even warming for narrow bottles.
- Always test the temperature of the milk before feeding your baby to prevent burns.