The frantic, sleep-deprived moments of a new parent's life often involve a desperate struggle to assemble a baby bottle – quickly, efficiently, and with as little fuss as possible. If you're a dad (or any caregiver!) juggling a wriggling infant and a pile of bottle parts, the seemingly simple task of assembling a Dr. Brown's bottle can feel like a Herculean feat. This is especially true with those fiddly little vents and rings. Forget fumbling and frustration; mastering the art of one-handed assembly is key to maintaining sanity and preventing those precious few moments of peaceful parenting from being hijacked by bottle-related chaos.
This guide provides a straightforward, step-by-step approach specifically designed to streamline the process. Learn to confidently assemble your Dr. Brown's bottle with just one hand, freeing up your other hand to soothe your baby, respond to their needs, or simply grab a much-needed cup of coffee. Ready to conquer the bottle-assembly challenge? Let's get started with our easy-to-follow instructions.
Preparation and Safety Guidelines
- Dr. Brown's Bottle
- Always ensure the bottle is properly assembled before feeding your baby. A poorly assembled bottle can leak or cause parts to come loose, posing a choking hazard.
- Never microwave a Dr. Brown's bottle while it is assembled. The internal vent system can create uneven heating and pressure, leading to potential burns or bottle damage.
- Thoroughly inspect all parts after each wash and before each use. Check for cracks, damage or missing pieces. Replace any damaged parts immediately.
Step-by-Step Instructions
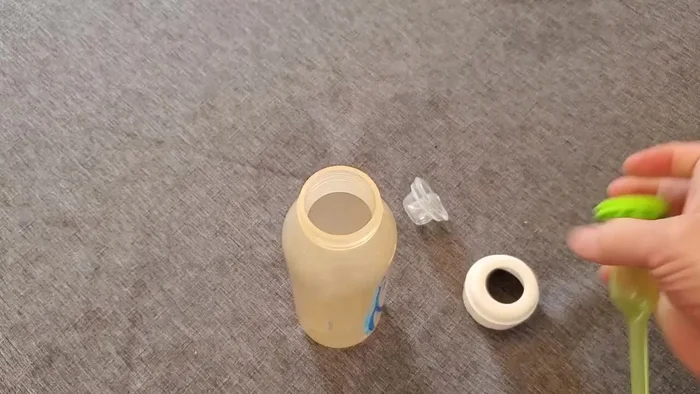
Identify Components
- anti-colic vent, nipple, ring, and bottle.

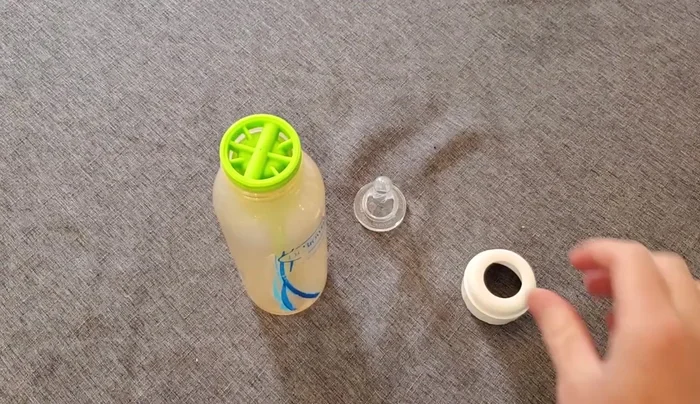
Identify Components Insert Vent
- Insert the anti-colic vent into the bottle.
Insert Vent Attach Ring
- Place the ring on the bottle, ensuring it's properly oriented.
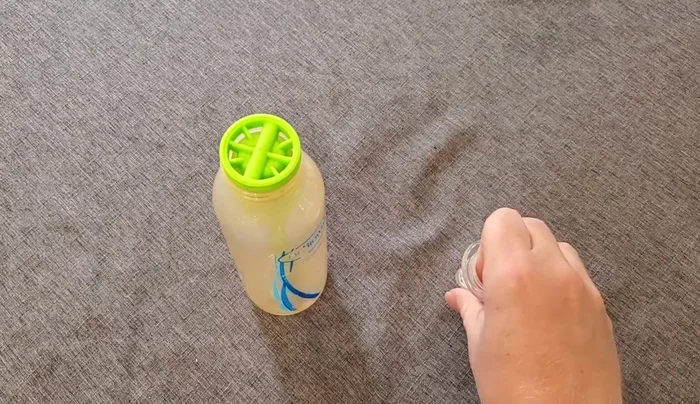
Attach Ring Secure Nipple
- Attach the nipple to the ring, pulling from the other side to secure it.
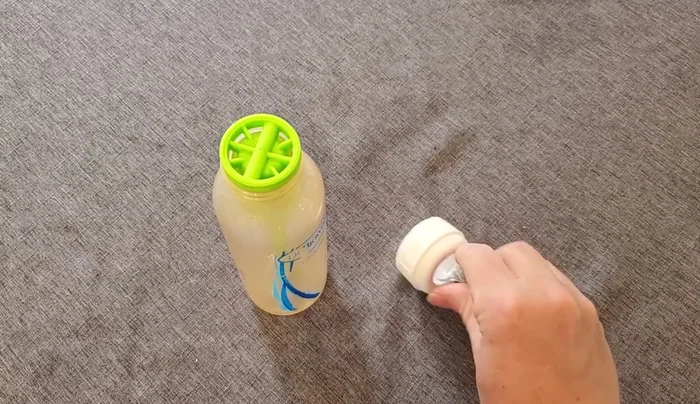
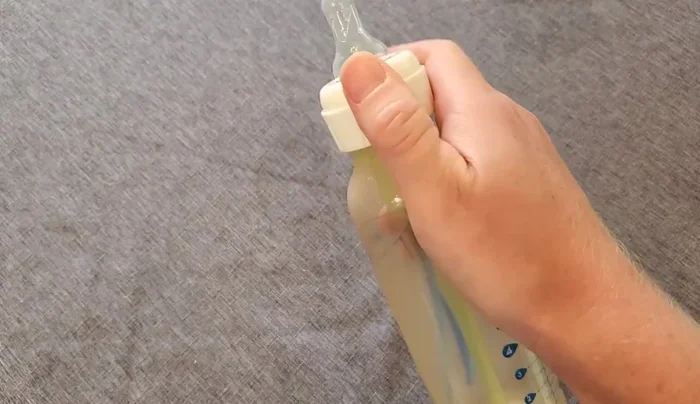
Secure Nipple Assemble Top & Attach
- Place the assembled top onto the bottle.
Assemble Top & Attach Close Lid
- Close the lid.
Close Lid

Read more: Ultimate Dr. Brown's Bottle Organization System: Faster & Easier Bottle Prep!
Tips
- Practice makes perfect! With enough practice, you can assemble the bottle one-handed, even in the dark.
- Ensure the nipple is properly seated to prevent leaks.