Are you tired of the endless cycle of searching for the right Dr. Brown's bottle parts? Does assembling and cleaning them feel like a never-ending chore, stealing precious time from your already busy day? We understand the frustration! Juggling multiple bottles, rings, nipples, and vents can quickly become overwhelming, especially for parents of newborns or multiples. Imagine a system so streamlined, so efficient, that bottle prep becomes a breeze instead of a battle.
This article unveils the "Ultimate Dr. Brown's Bottle Organization System," a revolutionary method designed to simplify and speed up your bottle preparation routine. Forget the frantic searches and endless sorting – we'll guide you through a step-by-step process to conquer bottle chaos once and for all, leaving you with more time to enjoy those precious moments with your little one. Let's dive into the details and transform your bottle prep experience!
Preparation and Safety Guidelines
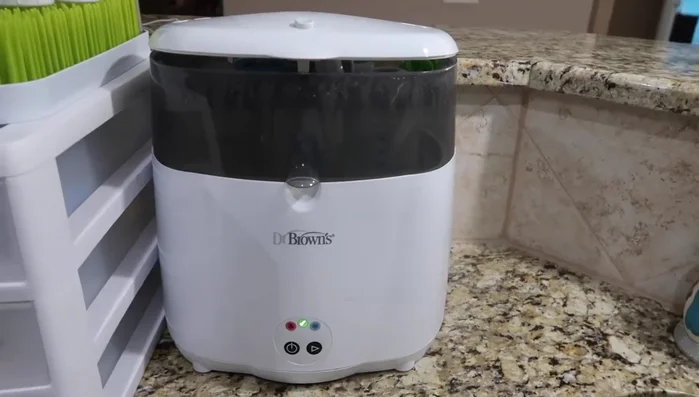
- Dr. Brown's sterilizer
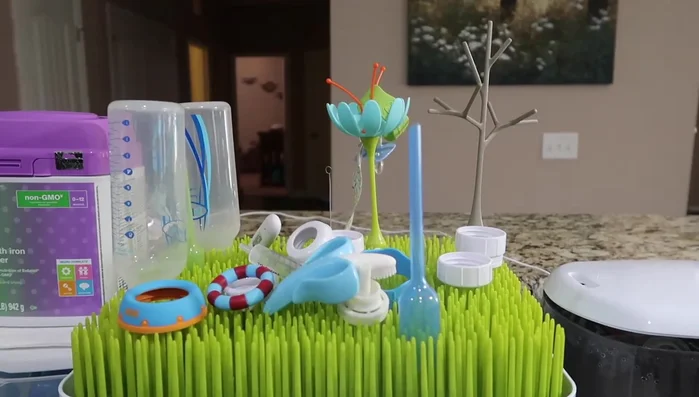
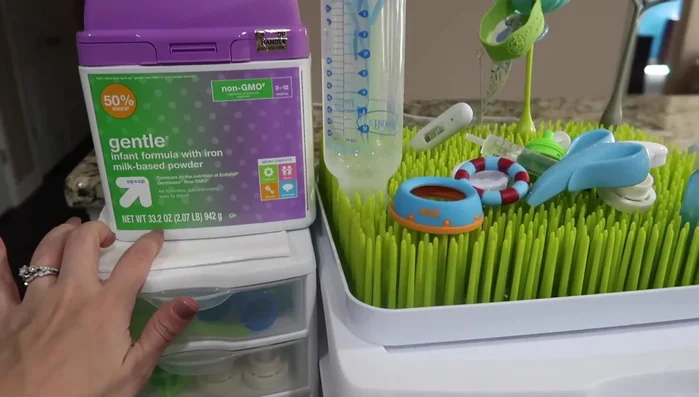
- Dr. Brown's bottle drying rack
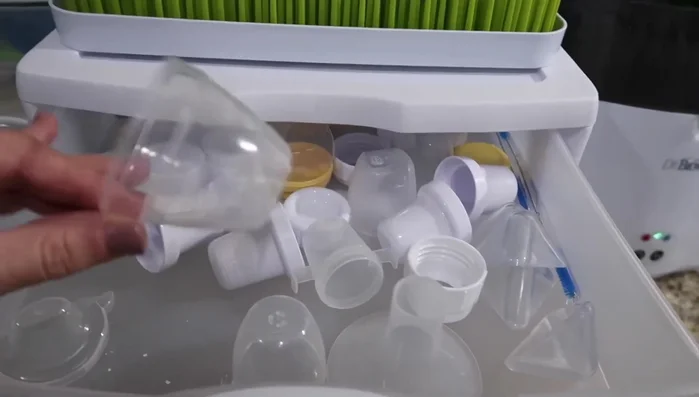
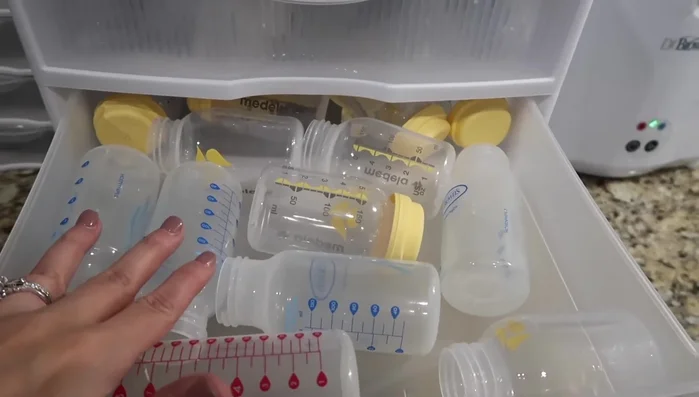
- Two drawer systems (Walmart)
- Bottle inserts
- Always sterilize bottles and nipples before each use, following the manufacturer's instructions. Improper sterilization can lead to illness.
- Never microwave Dr. Brown's bottles with liquid inside, unless specifically stated on the packaging. Uneven heating can cause burns or bottle damage.
- Inspect bottles and nipples regularly for cracks or damage. Replace any worn or damaged components immediately to prevent leaks and potential choking hazards.
Step-by-Step Instructions
Sterilize and Dry
- Place washed bottles in the Dr. Brown's sterilizer next to the sink for easy access.
- Use a drying rack (like the Dr. Brown's accessory) to dry bottles and nipples separately.

Sterilize and Dry Organize Storage Drawers
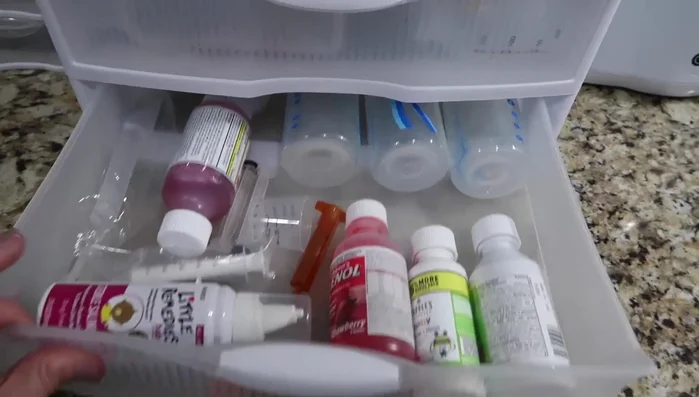
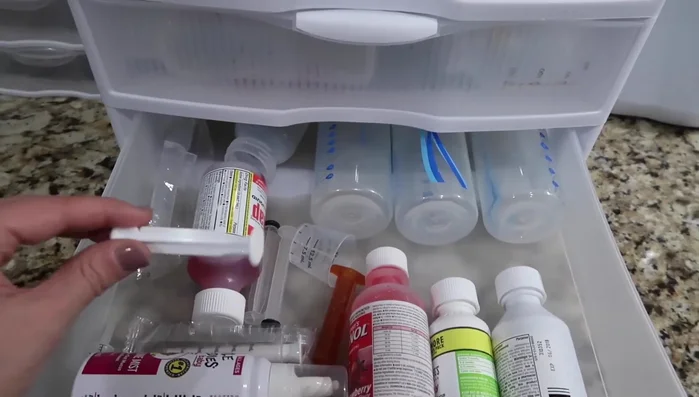
- Store all bottle lids in one drawer.
- Store bottles in a second drawer, arranging larger bottles horizontally or vertically to maximize space.
- Store bottle inserts and nipples of various sizes in separate drawers for easy access.
- Use a third drawer for medication, syringes, and other miscellaneous items.
Organize Storage Drawers Prepare for Use
- Place currently used formula within easy reach.
Prepare for Use
Read more: One-Handed Dr. Brown's Bottle Assembly: A Dad's Guide
Tips
- Use a bottle drying rack with individual slots for faster drying and easy identification of bottles.
- Utilize drawer systems for efficient storage and organization of all bottle parts.
- Store items based on frequency of use for easy and quick access during nighttime bottle preparation.