Love fresh-squeezed orange juice but find store-bought bottles a little…blah? Elevate your morning routine and add a touch of personal flair with custom-designed orange juice labels! Forget generic branding; this guide empowers you to create unique, personalized labels that perfectly reflect your style, whether it's a cheerful citrus design for the family or a sophisticated label for a special occasion. Imagine impressing your guests with bottles showcasing your own artistic touch, or simply enjoying the satisfaction of a truly personalized drink. This is more than just a label; it's a creative expression bottled up and ready to be shared.
This detailed tutorial will walk you through the entire process of designing and creating stunning DIY orange juice labels using your Cricut machine. From choosing the perfect design and materials to cutting, weeding, and applying your labels, we’ll cover everything you need to know to transform ordinary juice bottles into personalized works of art. Let’s get started with our step-by-step guide!
Preparation and Safety Guidelines
- Cricut
- Computer with Cricut Design Space
- Waterproof Glossy Vinyl Sticker Sheets
- Printer
- Always ensure your Cricut cutting mat is properly aligned and secured before cutting. Incorrect placement can lead to inaccurate cuts and wasted material.
- Use water-resistant vinyl for your labels to prevent them from smudging or tearing when exposed to moisture. Test your chosen vinyl's durability before mass production.
- Before applying labels to glass bottles, clean the surface thoroughly. Dirt or residue can affect adhesion and label longevity.
Step-by-Step Instructions
Design Setup in Cricut Design Space
- Open Cricut Design Space and start a new project.
- Upload your label template (SVG, PNG, or DXF).
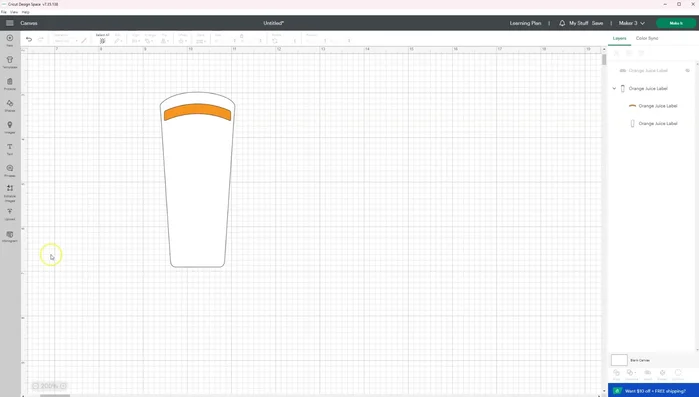
- Add your chosen graphics. Remember to select 'Print then Cut' for images.
- Add your text, adjust fonts, sizes, and colors. Use 'Print then Cut' for text as well.

Design Setup in Cricut Design Space - Arrange graphics and text on the label. Ensure they fit within the label dimensions (1.69 width x 3.9219 height).
- Select all elements, right-click, and select 'Attach'.
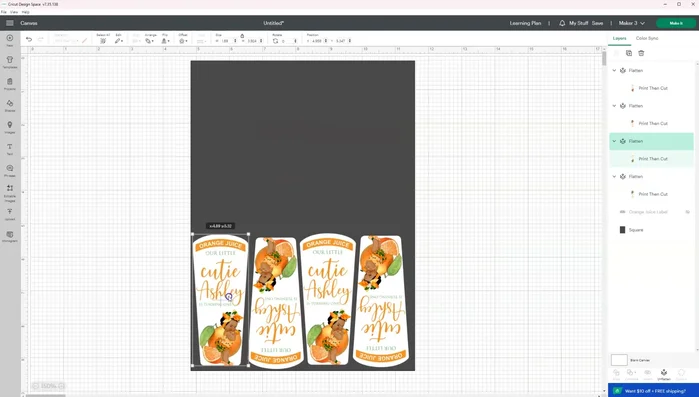
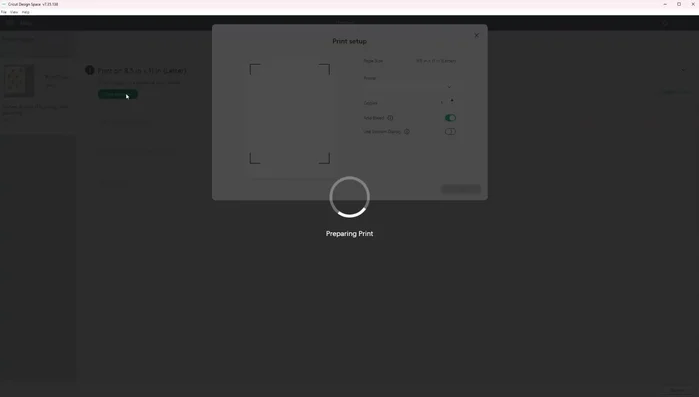
Design Setup in Cricut Design Space Print Setup and Print
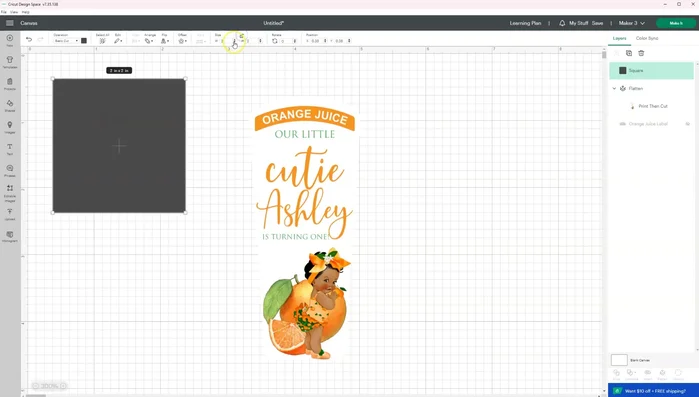
- Create a print sheet using squares (6.75 x 9.25 inches) to maximize space utilization on your sticker sheet.
- Send to printer. Make sure to select your printer, enable 'bleed on' and 'system dialog on'. Adjust printer settings (paper type, color correction etc.) based on your printer and material.
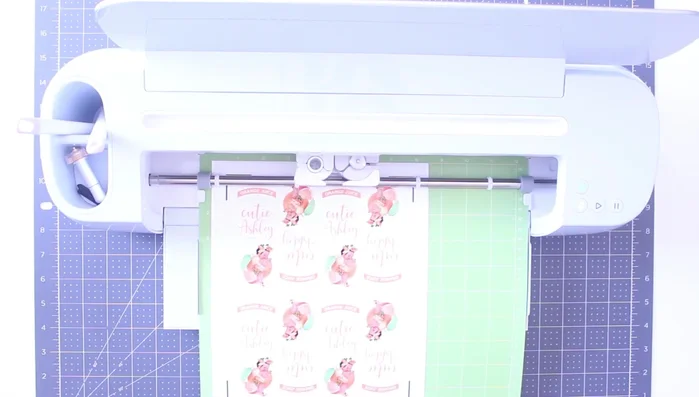
Print Setup and Print Cutting with Cricut
- Select your material in Cricut Design Space. For kiss cuts, choose 'Stencil Vinyl'.
- Cut the labels using your Cricut machine.
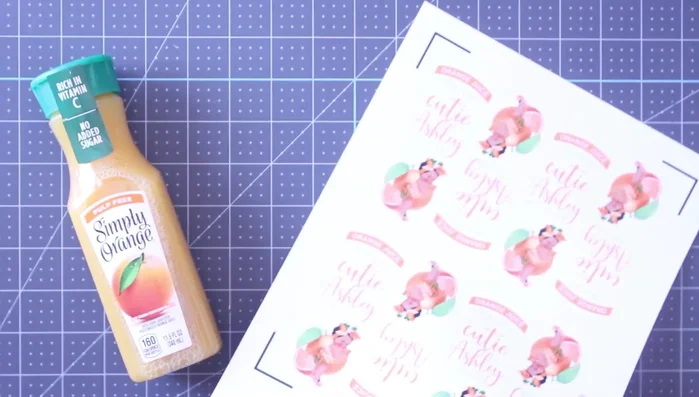
Cutting with Cricut Application
- Peel and apply your personalized labels to your orange juice bottles.
Application


Read more: Personalizing a Water Bottle with Vinyl: A Cricut-Free DIY
Tips
- Refer to the included text on the template to ensure accurate label size if resizing occurs.
- If your Cricut machine struggles with glossy paper, try using matte tape or a permanent marker to aid registration.
- The template is large enough to cover existing labels on the bottles.