Tired of generic water bottles and yearning for a personalized touch? Then get ready to unleash your creativity with this simple, Cricut-free DIY project! We'll show you how to effortlessly transform a plain water bottle into a unique, stylish accessory reflecting your personality, all without needing expensive crafting machines. This project is perfect for beginners, requiring only readily available materials and a little bit of patience. Forget the complicated designs and high-tech gadgets; we're keeping it easy, affordable, and undeniably fun.
This guide provides a practical, step-by-step approach to personalizing your water bottle using nothing more than vinyl and some basic tools. From choosing the perfect vinyl design to applying it flawlessly, we'll walk you through each stage, ensuring a professional-looking finish every time. Ready to get started and create your dream customized water bottle? Let's dive into the detailed instructions below!
Preparation and Safety Guidelines
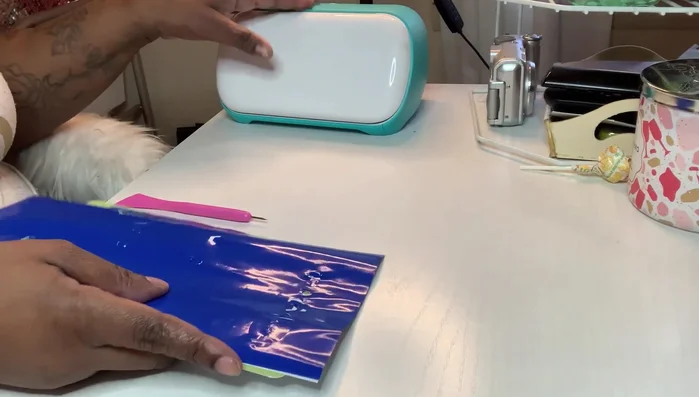
- Vinyl (various types)
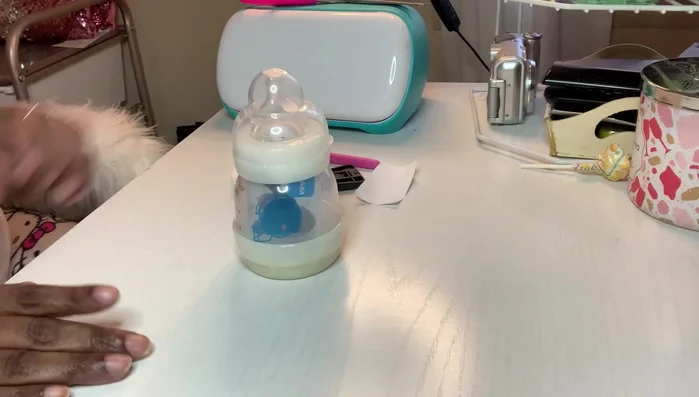
- Water bottle
- Scraper
- Tweezers (optional)
- Always use vinyl specifically designed for water bottles. Regular vinyl may not be durable enough and could peel off or leach chemicals into your water.
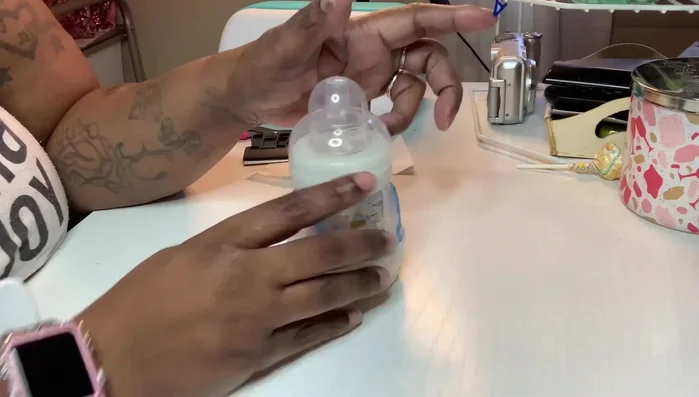
- Before applying the vinyl, thoroughly clean and dry the water bottle surface. Dirt, grease, or moisture will prevent proper adhesion.
- Avoid using harsh chemicals or abrasive cleaners on the vinyl-covered bottle, as this could damage the design and the vinyl.
Step-by-Step Instructions
Prepare Designs
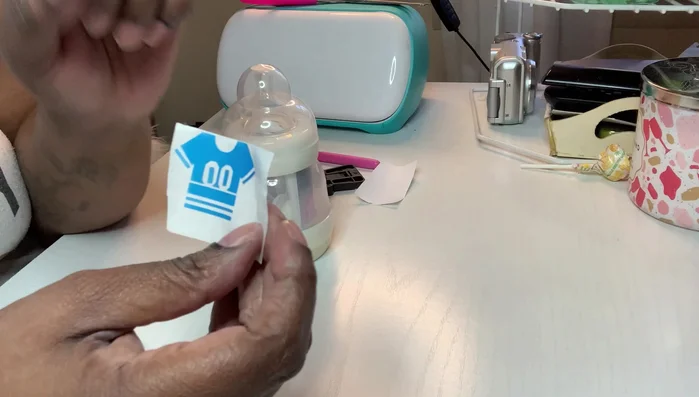
- Prepare your design elements. Cut out your desired images and text using a Cricut machine or by hand.

Prepare Designs Plan Placement
- Strategically plan the placement of your designs to maximize visual appeal and avoid overlaps or misalignments. This might require some adjustments and repositioning.
Plan Placement Apply Larger Decals
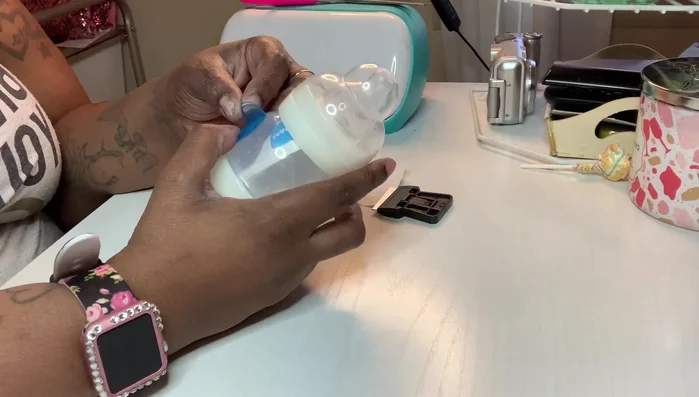
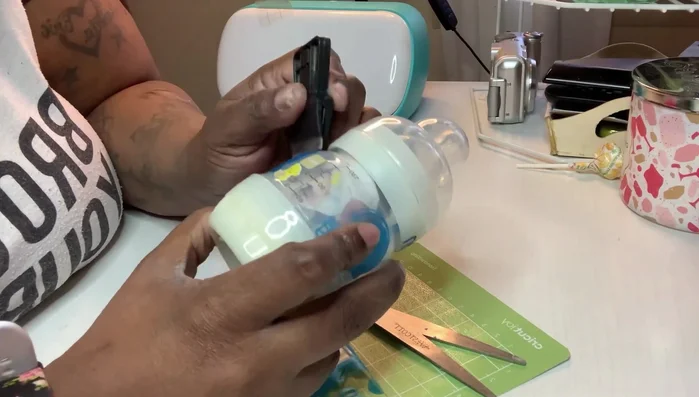
- Begin applying the vinyl decals to the bottle. Start with larger pieces and work towards smaller ones.
- Smooth out any air bubbles as you apply, using a scraper to ensure adhesion and prevent wrinkles. Pay close attention to areas with textured surfaces or grooves.
Apply Larger Decals Reapply if Necessary
- If air bubbles persist or the vinyl isn't adhering properly, carefully remove the decal and reapply, ensuring a clean and smooth surface for application.
Reapply if Necessary Apply Smaller Decals
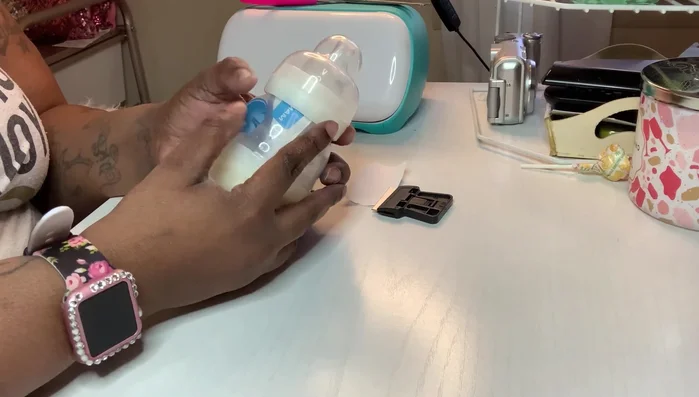
- Apply smaller details, such as the name or small design elements after placing larger pieces.
- Use a scraper to firmly adhere all vinyl pieces, removing any remaining air bubbles or wrinkles.
Apply Smaller Decals
Tips
- Consider the bottle's texture when selecting vinyl. Textured surfaces may require more careful application and smoothing.
- Different vinyl types offer varying levels of adhesion and flexibility. Experiment with different types to find what works best for your project. Dollar store vinyl can be a surprisingly effective and budget-friendly option.
- Take your time with placement and application to achieve a professional-looking result. Patience is key when working with vinyl decals.