Are you a parent searching for a reliable and convenient way to warm your baby's formula? Then look no further! This review delves into our honest experience using the Dr. Brown's bottle warmer. We'll walk you through the step-by-step process of warming pre-made formula, highlighting the ease of use and the results we experienced. From preparing the formula and adding water to the warmer's base, to setting the timer and checking the final temperature, we'll cover it all. We'll also share our baby's reaction to the warmed formula and discuss whether it helped alleviate any digestive issues.This detailed account will offer a realistic perspective on the Dr. Brown's bottle warmer's performance and functionality. We'll explore the warmer's ease of use, temperature consistency, and overall effectiveness in warming formula from refrigerated temperatures. Discover if this product lived up to its expectations and whether it's a worthwhile investment for your family. Our honest feedback will help you make an informed decision before purchasing your own baby bottle warmer.
Pros And Cons
- Easier for baby to digest formula
- Less gas for baby
- Consistent temperature (room temperature, lukewarm)
- About 7-8 reheating sessions before needing more water
- Multiple temperature settings (room temperature, refrigerated)
- May need to add more water if formula is still cold after warming
Read more: Top 5 Best Electric Bottle Warmers
Preparing the Formula
First, I prepared the baby's formula. I used pre-made liquid formula for convenience. I carefully poured the formula into a four-ounce bottle, ensuring it reached the correct measurement line.
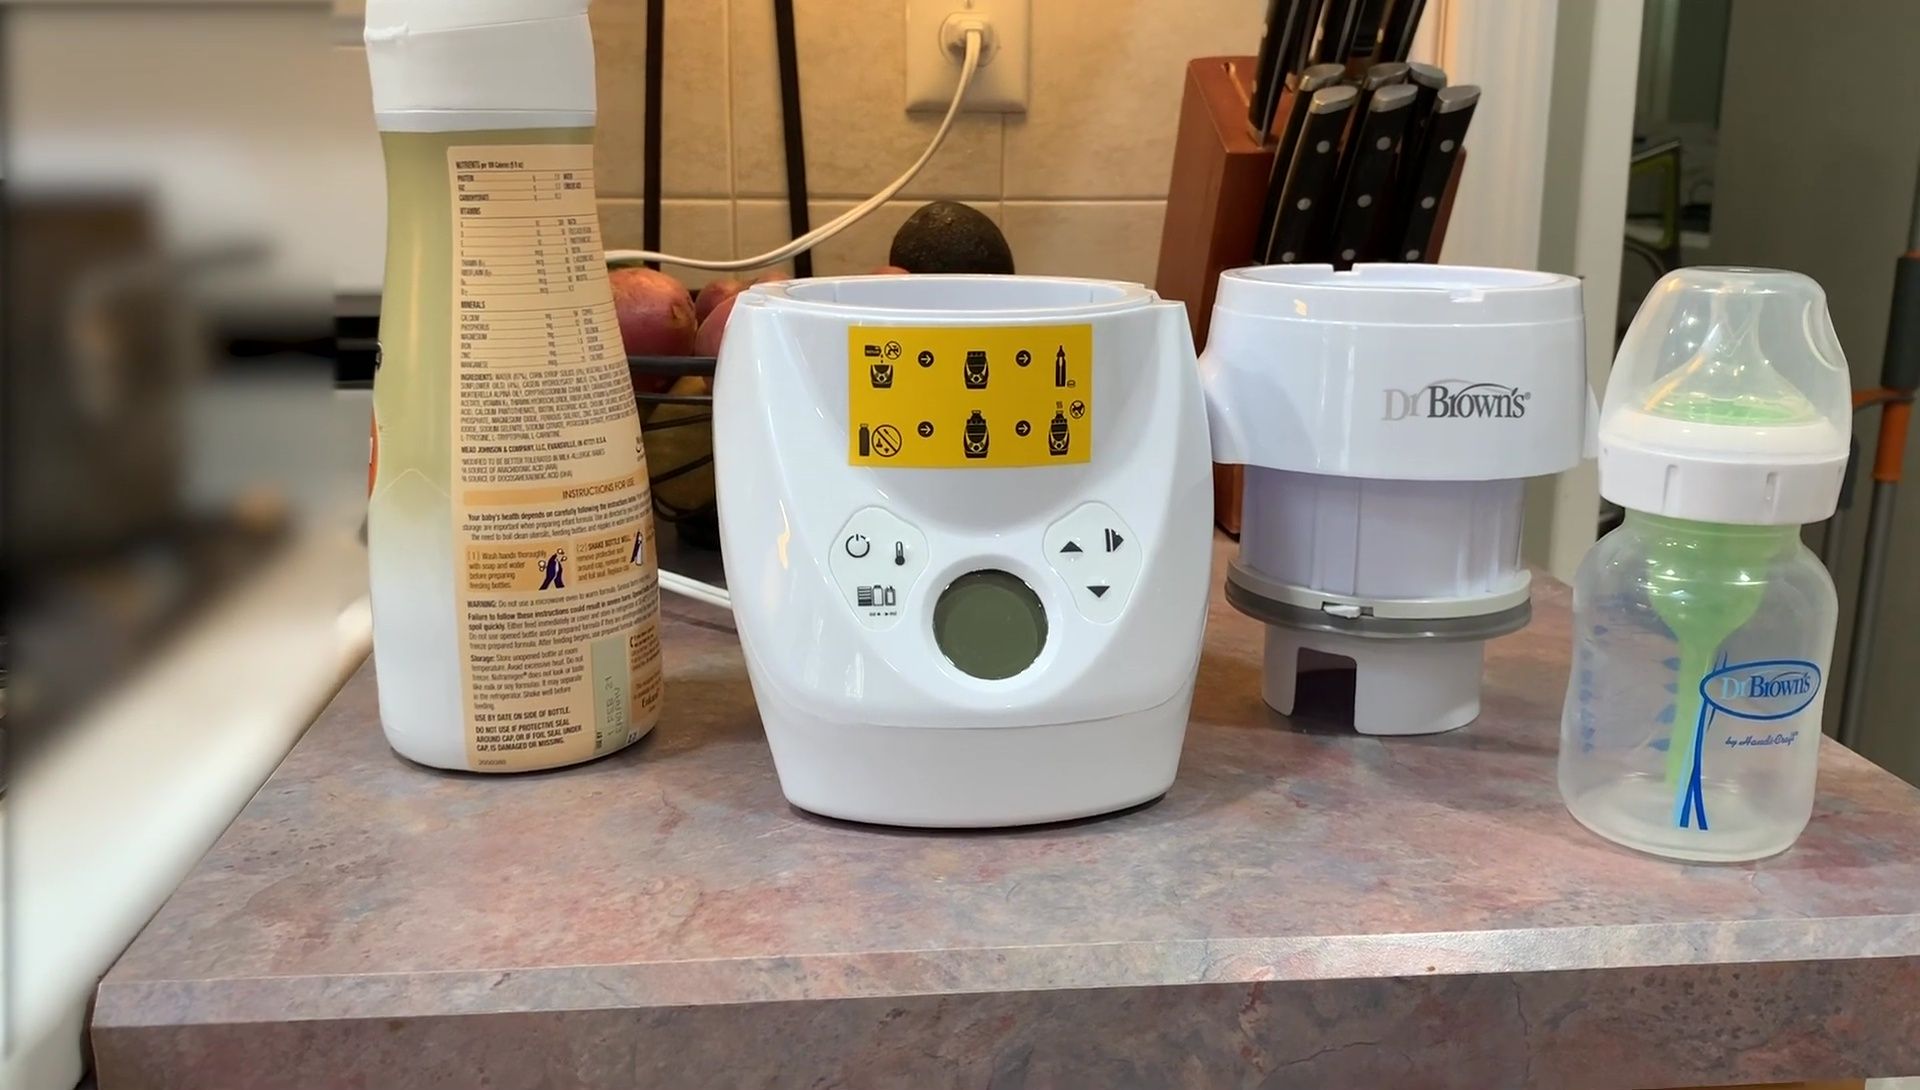
Next, I added the bottle's top, ensuring a secure fit. It's important to note that I didn't use the nipple and anti-colic attachment during the warming process, as per the manufacturer's instructions.

Adding Water to the Warmer
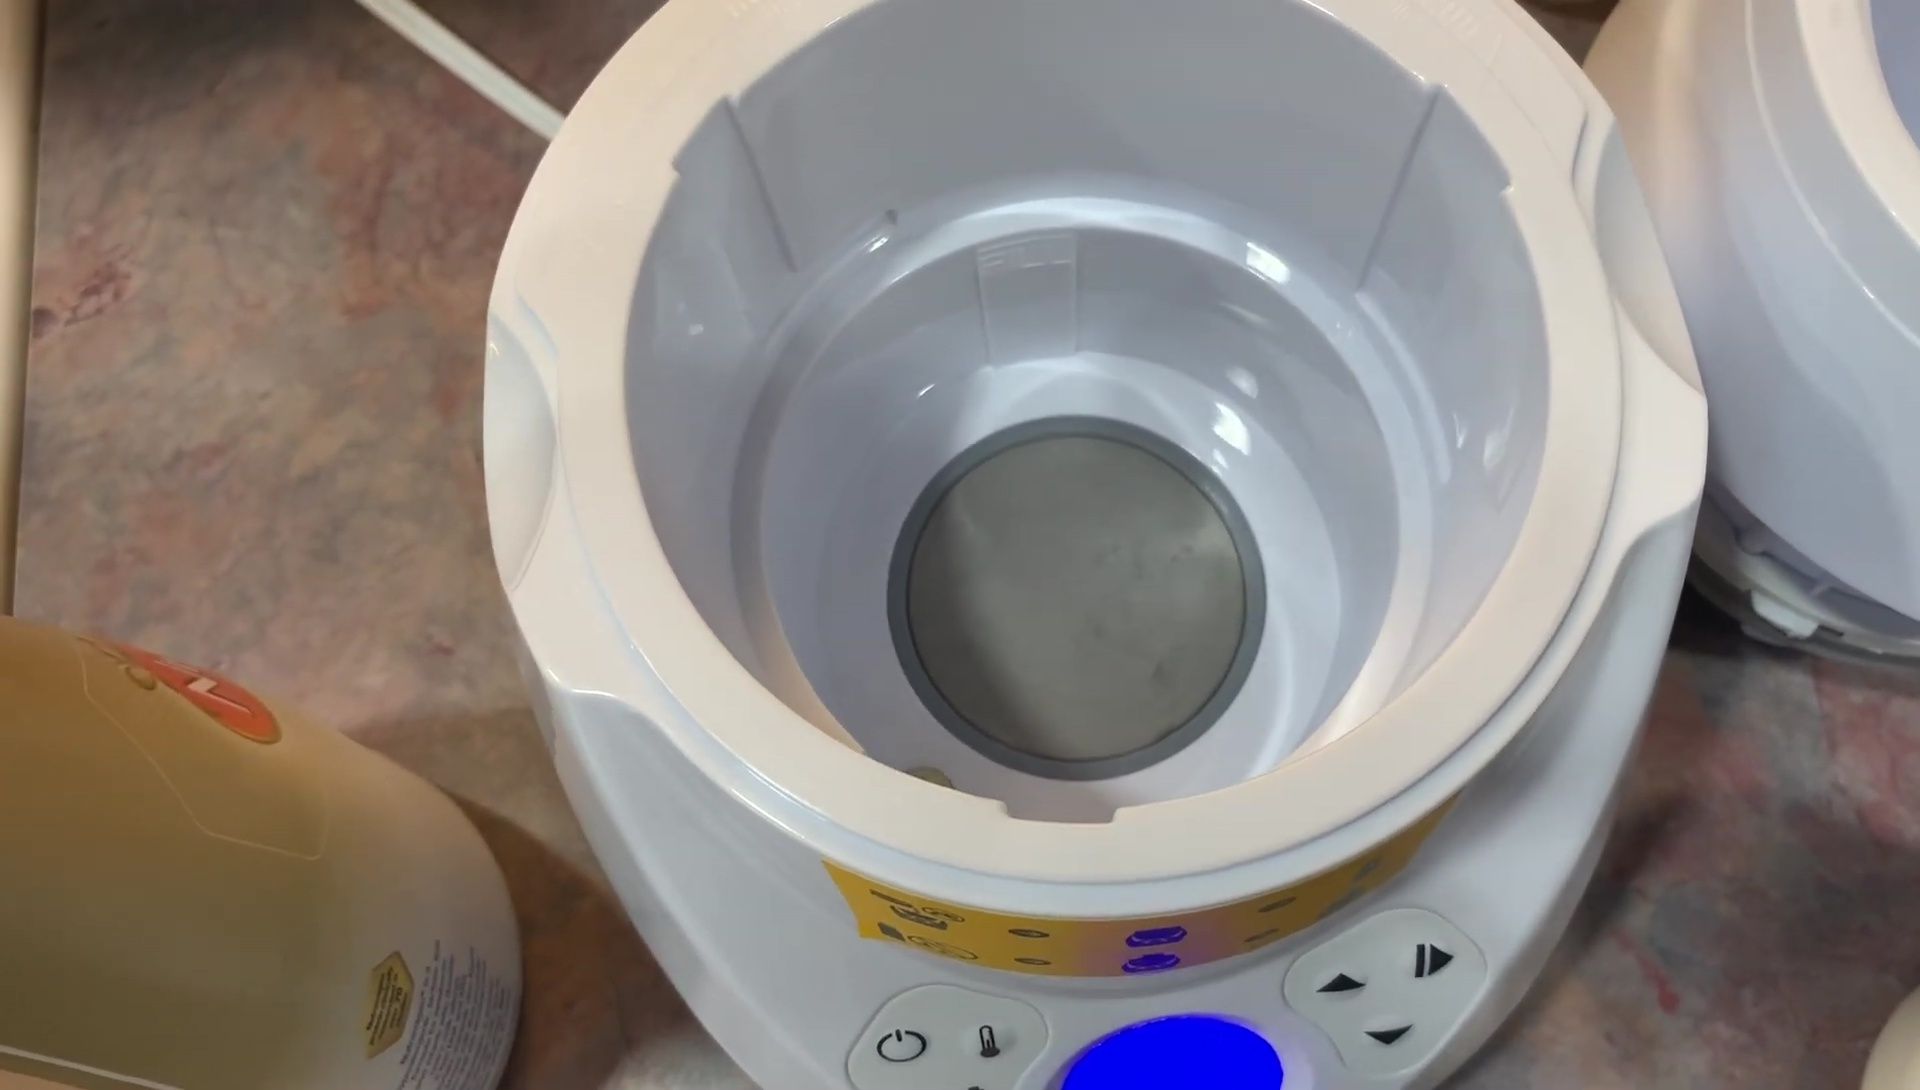
The instructions recommend using purified water to avoid damaging the warmer's base. I used purified water, but bottled or boiled water can be used as alternatives.
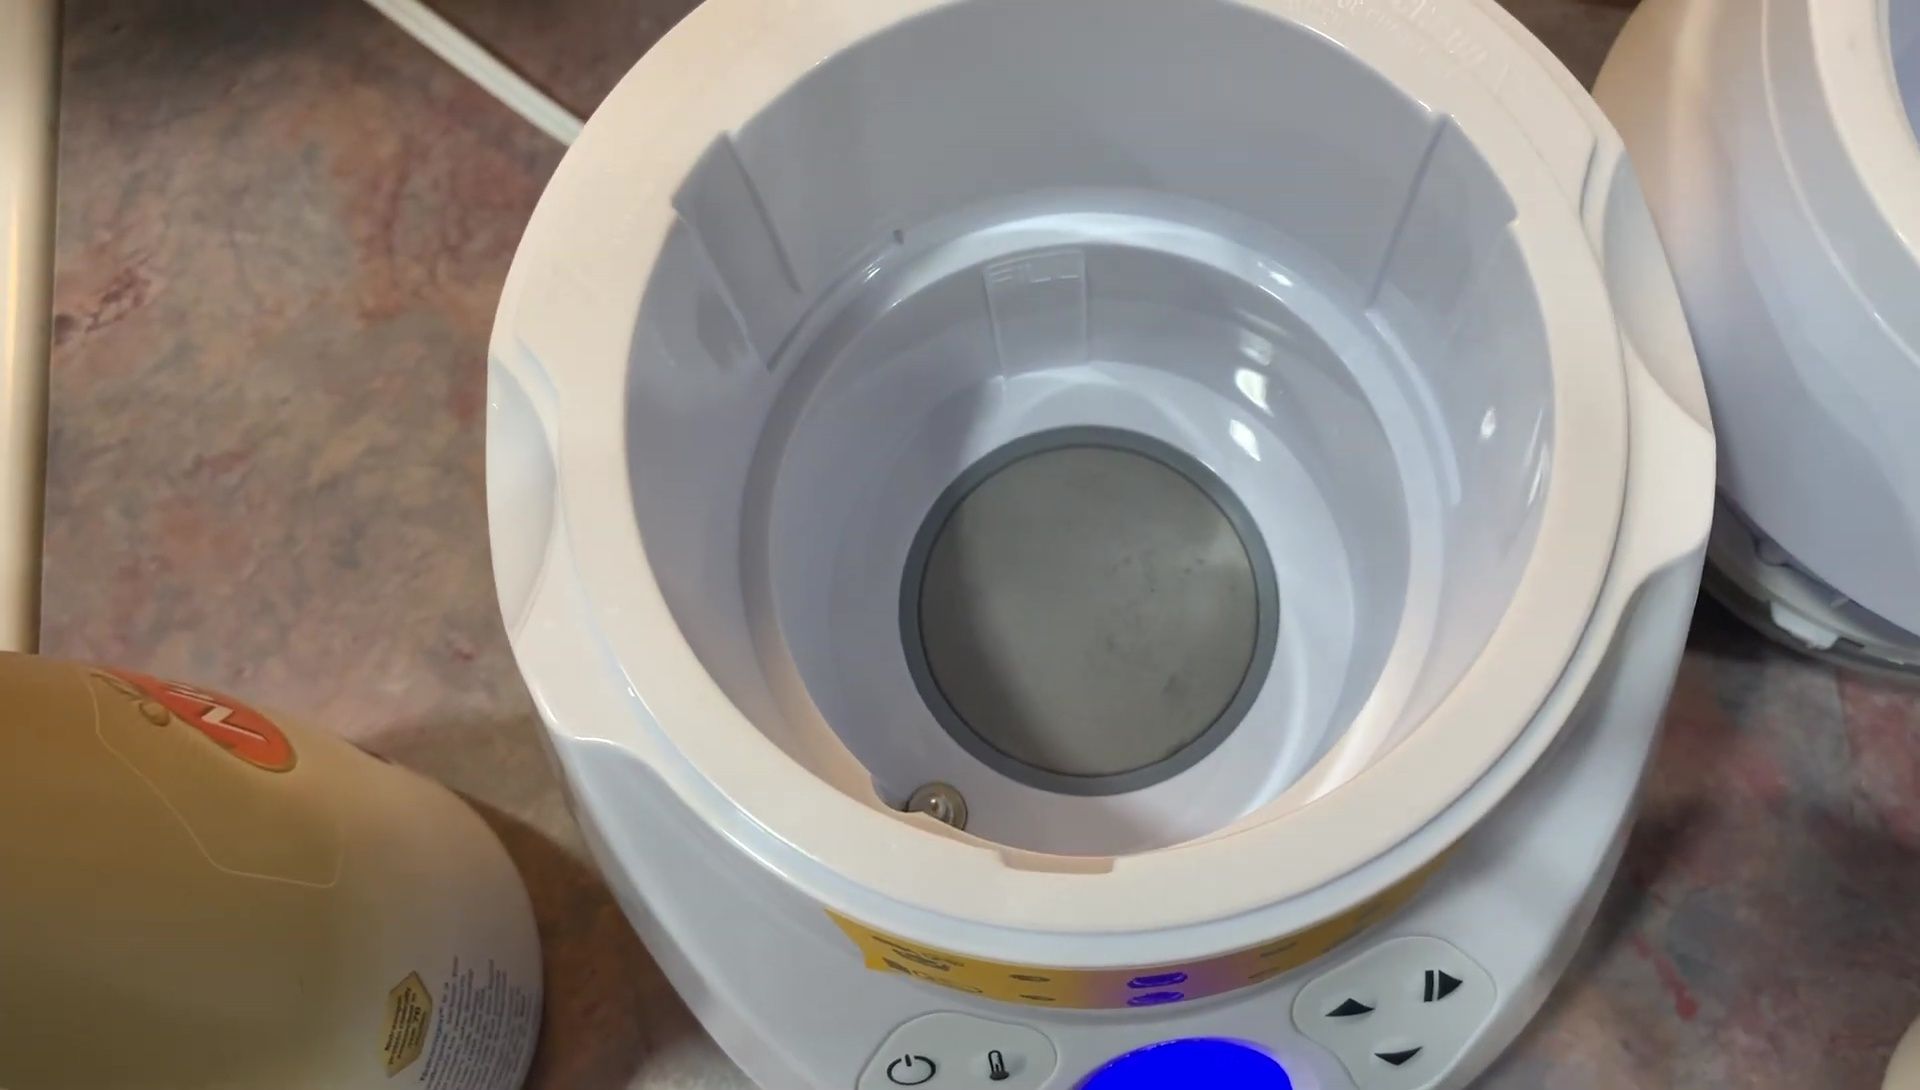
Following the instructions, I added the correct amount of water to the base of the bottle warmer. This step is crucial for the proper functioning and safety of the device.
Warming the Bottle
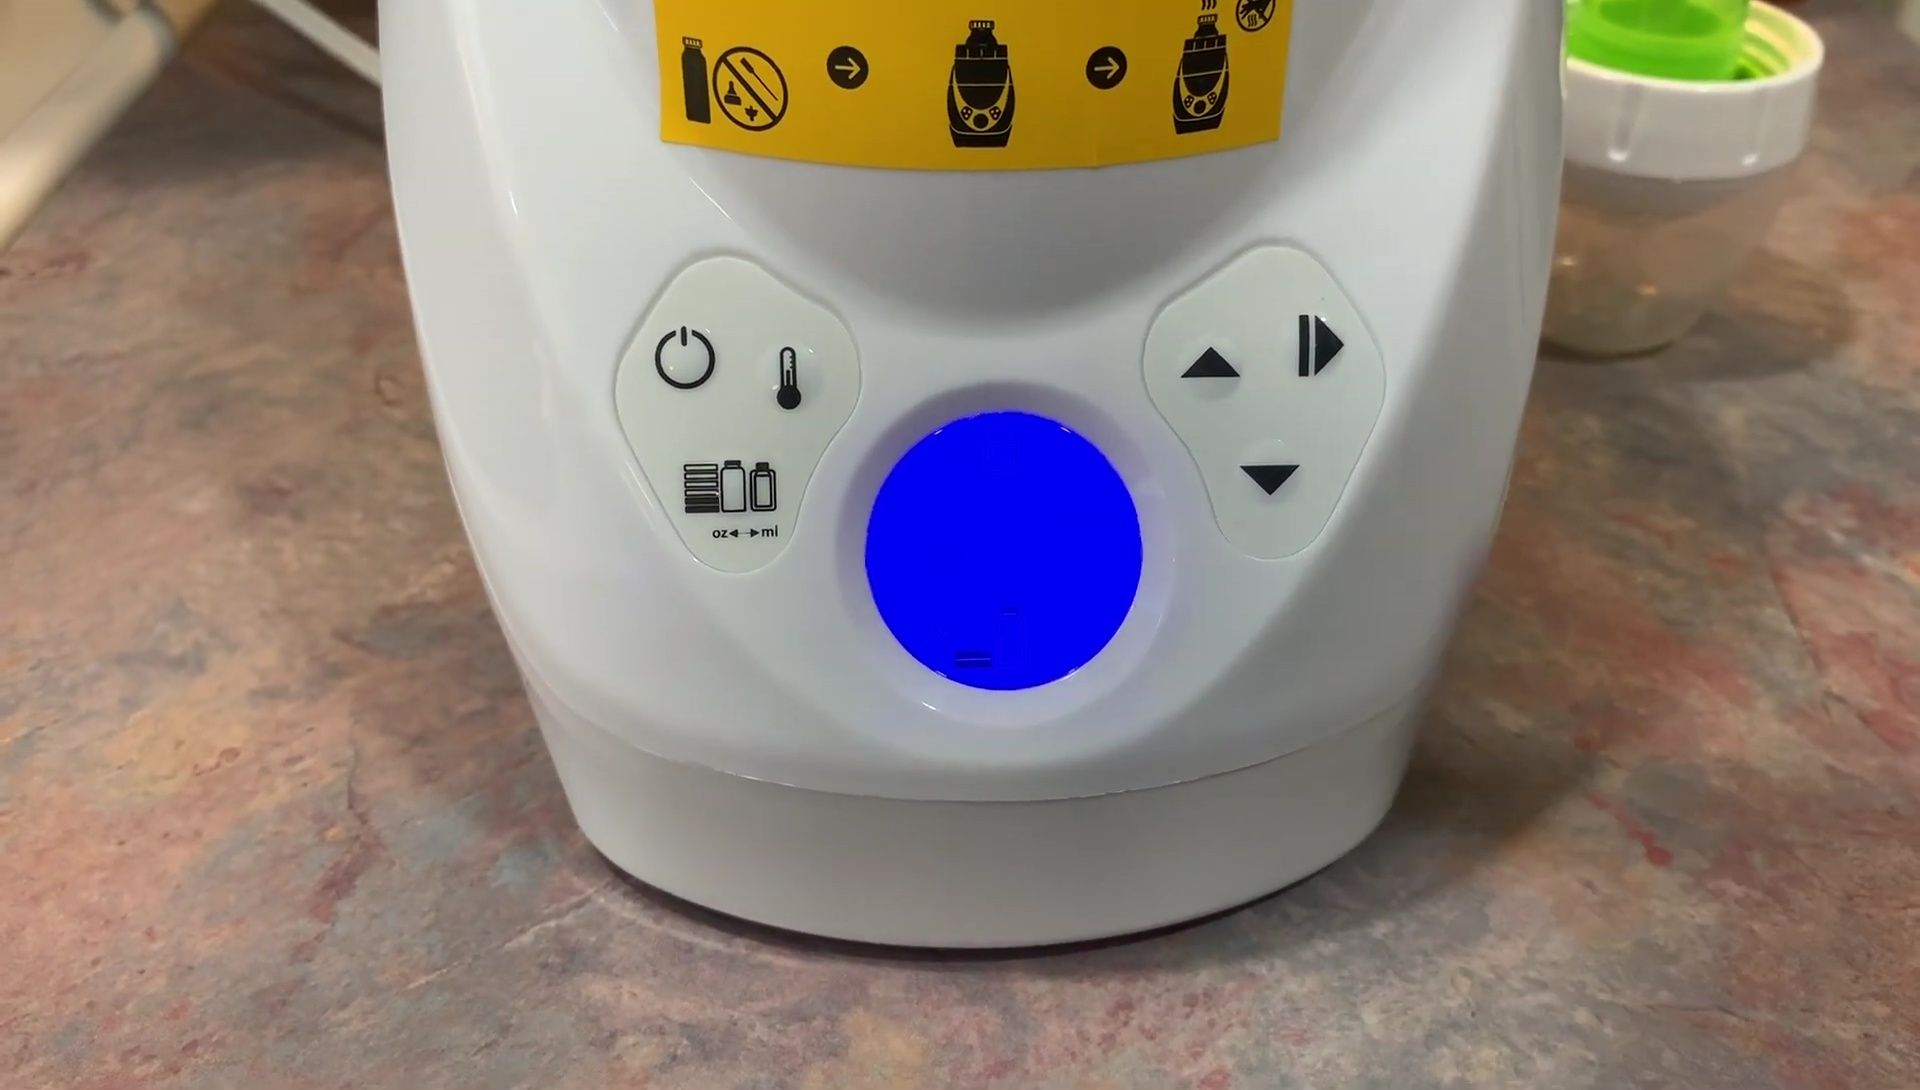
I carefully attached the top part of the warmer to the base. Then, I placed the bottle containing the formula into the warmer.
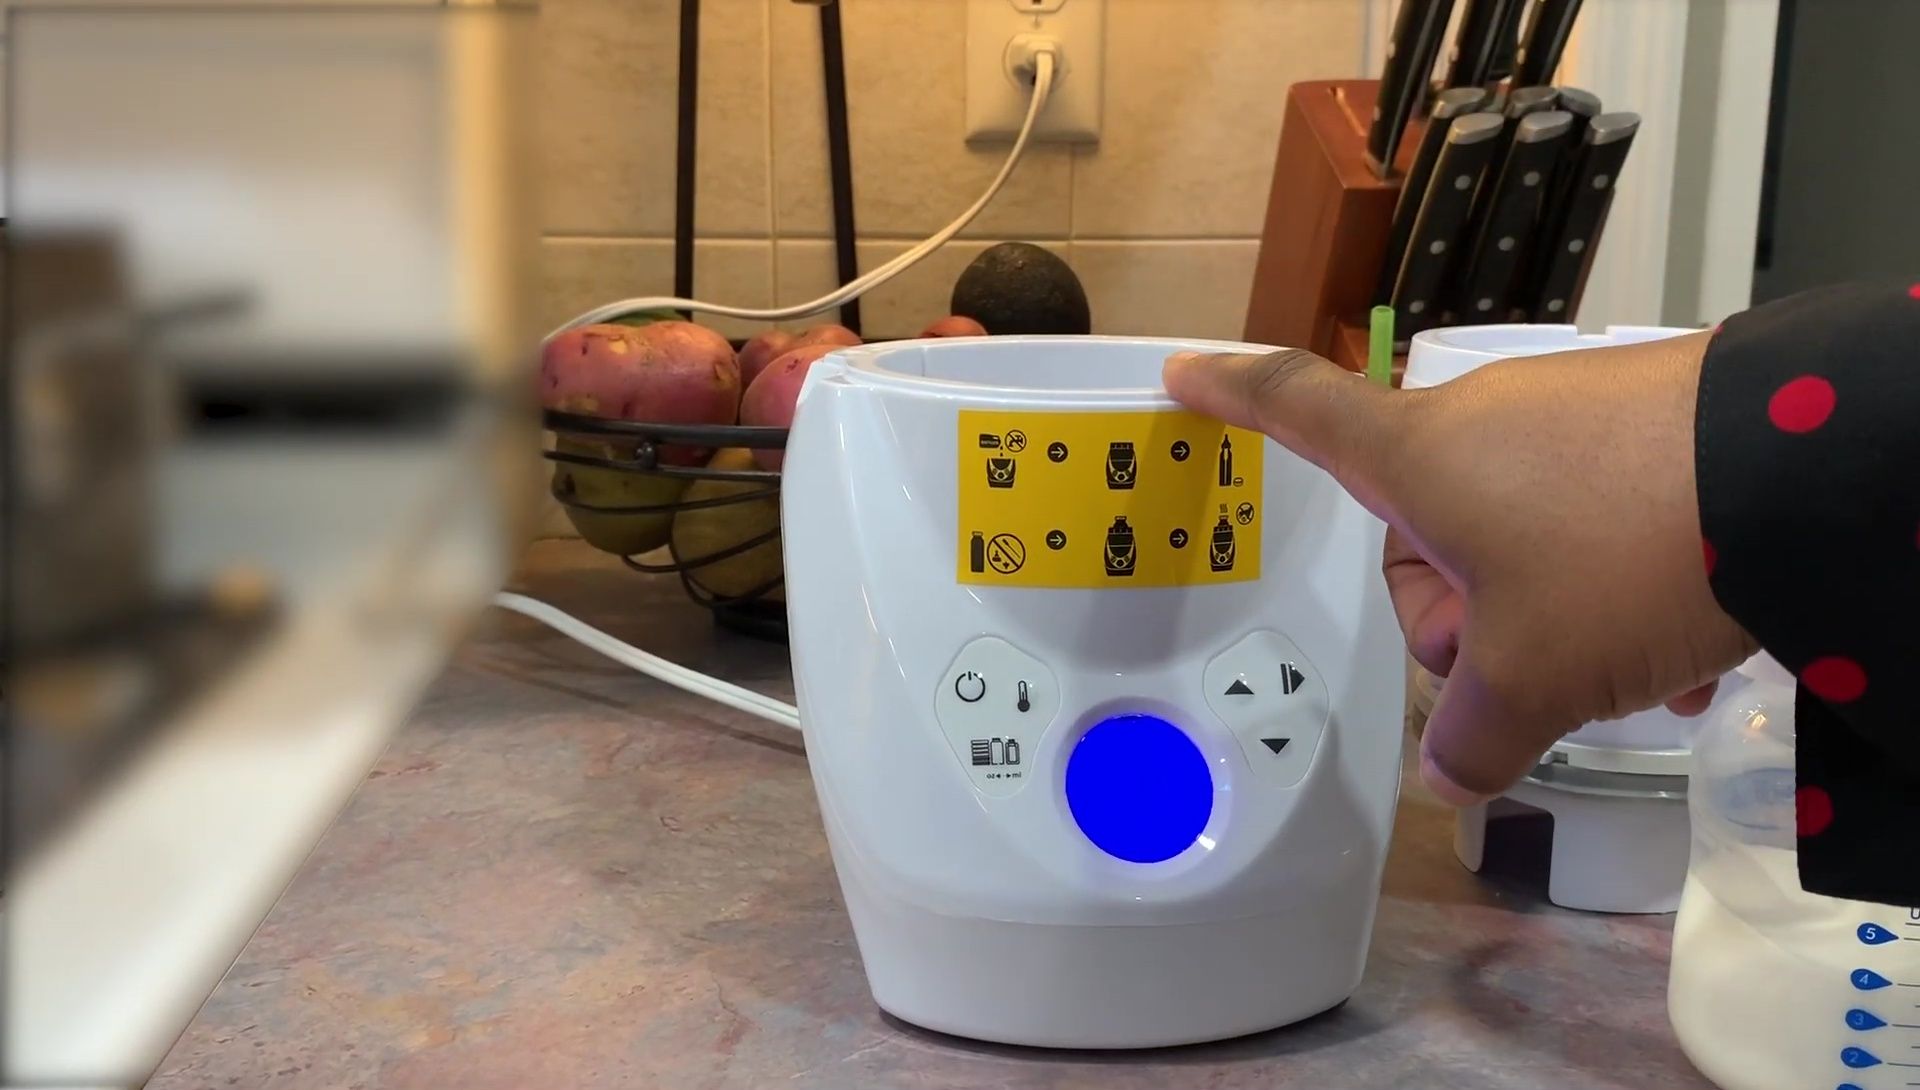
I set the warmer to the appropriate setting based on the formula's initial temperature (refrigerated). The machine automatically began a six-minute countdown.
Testing and Feeding
After the six-minute cycle, I removed the bottle and tested the temperature. The bottle felt pleasantly warm, not hot. I added the nipple and anti-colic attachment.
I gave the bottle a gentle shake to ensure the formula was well-mixed. Then, I fed the warmed formula to my baby. My baby seemed to digest the warmed formula with no problems.

Final Thoughts and Conclusion
Overall, the Dr. Brown's bottle warmer was a positive experience. My baby readily accepted the warmed formula, and it seemed to aid in digestion, resulting in fewer gas issues.

The warmer is easy to use and provides consistent temperature control. Its ability to warm formula from refrigerated and room temperature was highly convenient. While I haven't tested frozen formula, I'm confident in its capabilities based on my experience.
I recommend this bottle warmer to parents who seek a reliable and user-friendly device for warming baby's milk. The convenience and improved digestion it offers make it a valuable tool.