Introducing the Smart Baby EXO Formula Dispenser: Effortlessly prepare your baby's formula with this innovative device. This step-by-step assembly guide will walk you through the simple process of setting up your Smart Baby EXO, ensuring a smooth and efficient operation from the start. We'll cover each component, from the water reservoir and boiler to the powder dispensing system and mixing chamber, guiding you through each connection with clear instructions and helpful tips. Say goodbye to messy formula preparation and hello to convenient, precise feeding.This guide will empower you to assemble your Smart Baby EXO with confidence. The intuitive design of the dispenser and the detailed instructions provided will make the assembly process quick and straightforward. Learn how to securely attach the water tank and boiler cover, assemble the powder dispensing unit, connect the funnels, and finally install the water and adjustment trays. Once assembled, your Smart Baby EXO will provide a consistently accurate formula mix, tailored to your baby's specific needs.
Read more: Best 5 Baby Formula Makers with Built-in Bottle Warmers
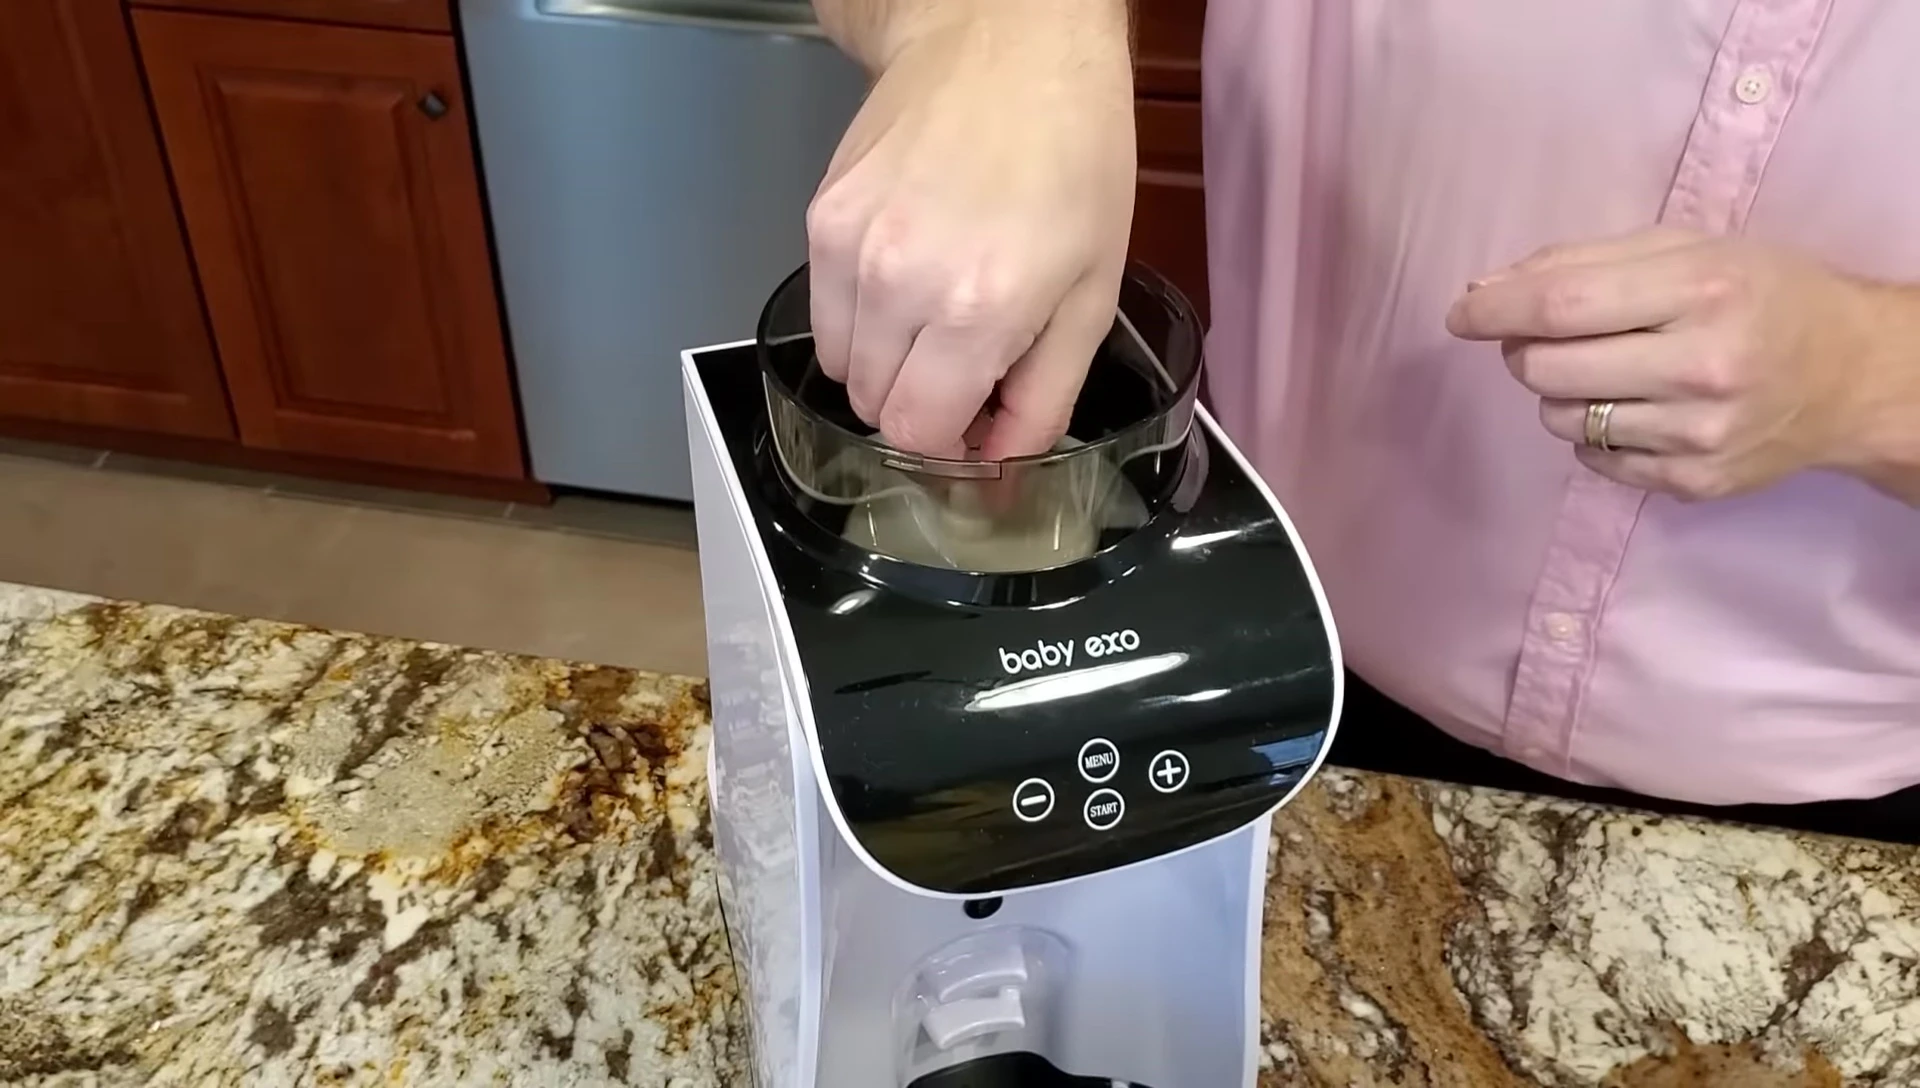
Preparing the Water Reservoir
Begin by assembling the water reservoir. This crucial component ensures a smooth and consistent formula preparation process. Carefully attach the water tank cover, ensuring a secure fit. The secure placement of the cover is vital for preventing leaks and maintaining the integrity of the system.
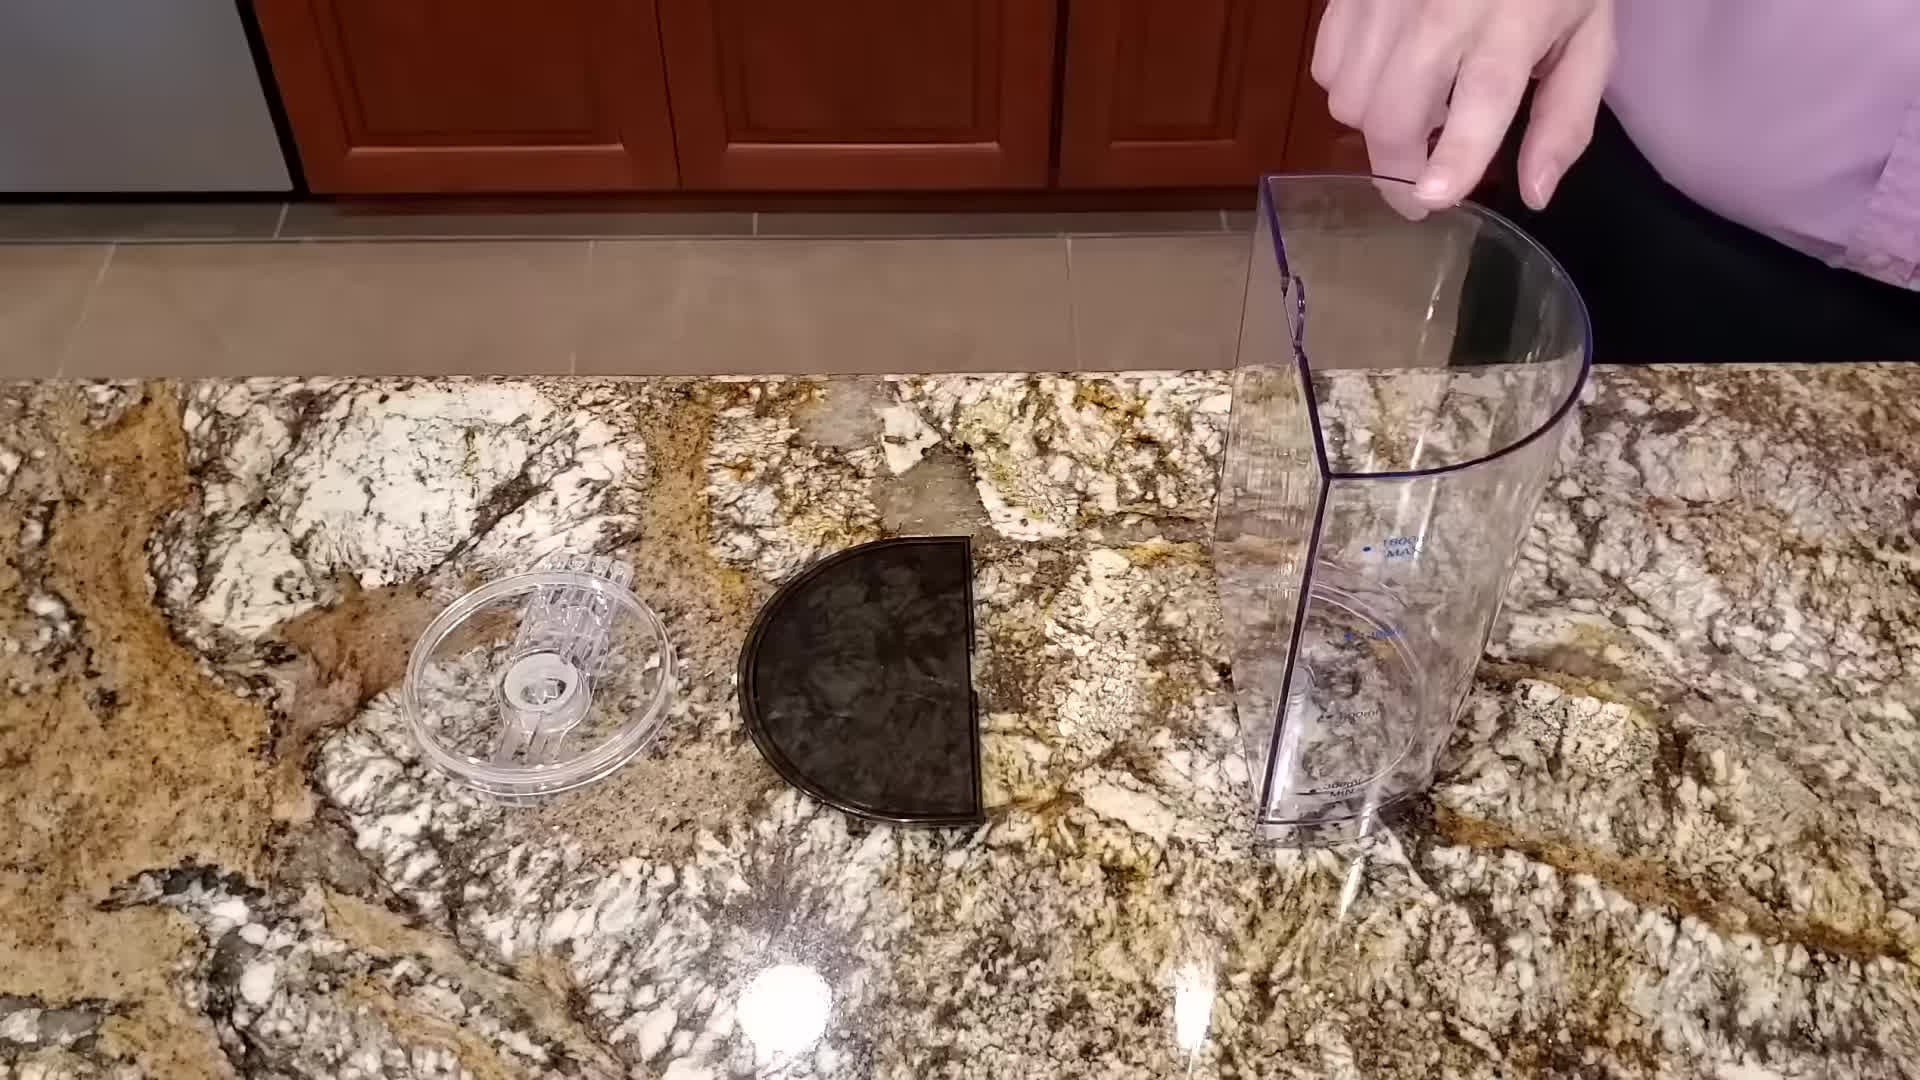
Next, attach the boiler cover. Make sure it's firmly secured, ensuring a tight seal. Pay close attention to the tabs – they should align perfectly to guarantee a leak-proof assembly.
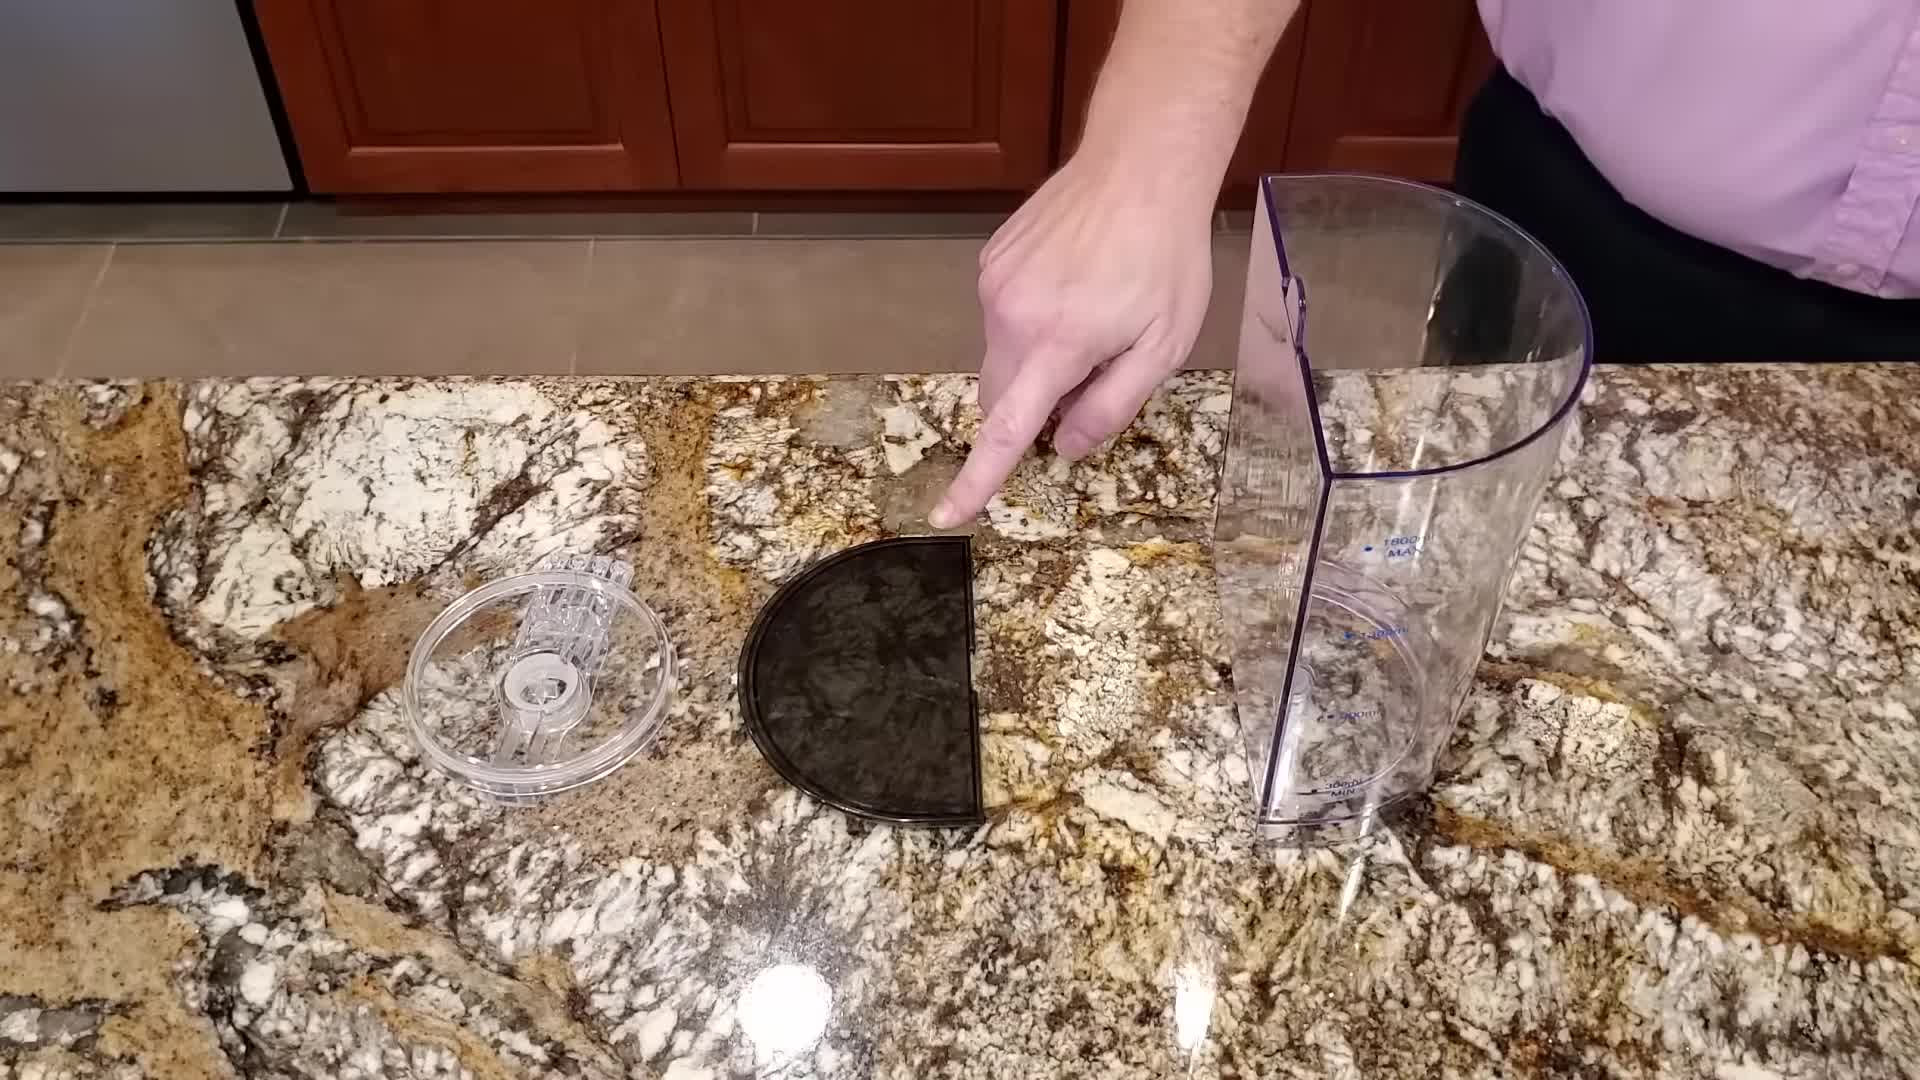
With the water tank and boiler cover correctly in place, you are ready to proceed to the next stage of assembly.
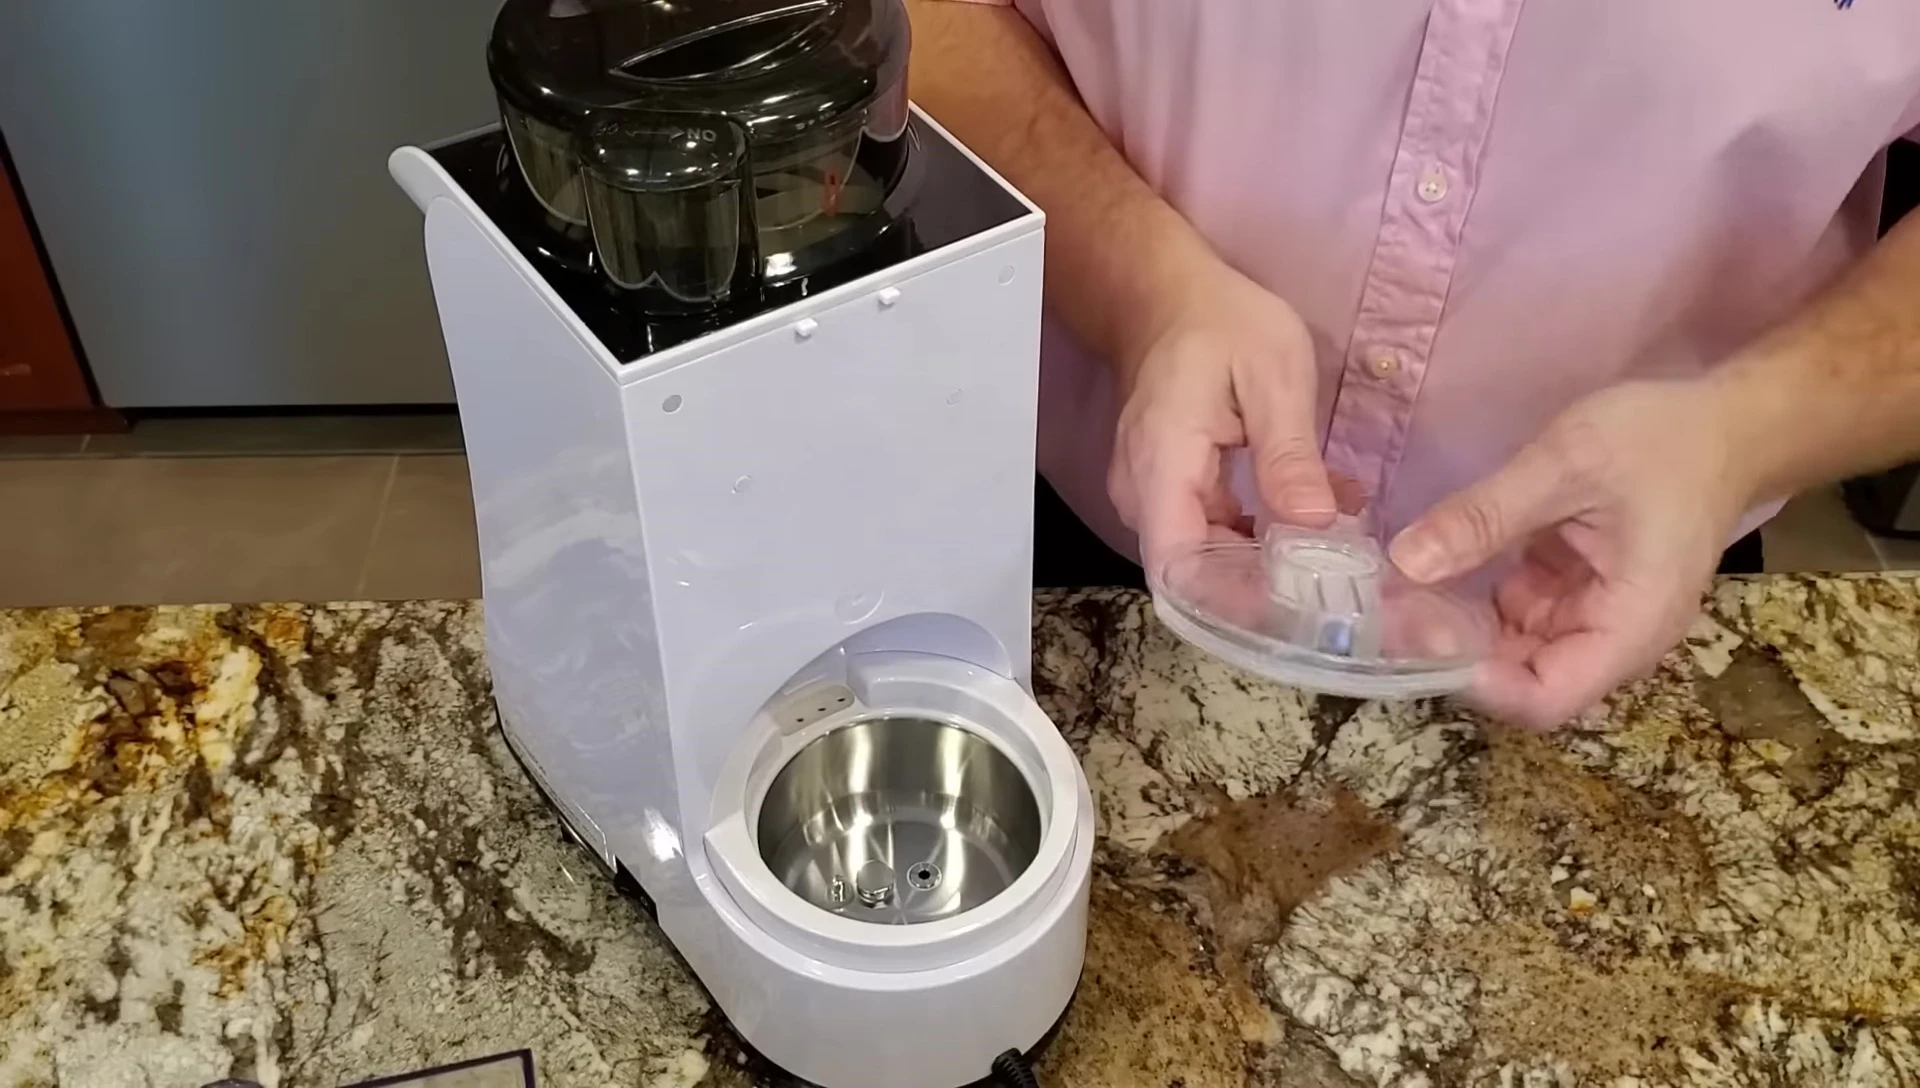
Installing the Powder Dispensing System
The powder dispensing system is the heart of the Smart Baby EXO. It consists of several parts that work together to deliver precise amounts of formula. Begin by taking the powder box and carefully inserting it into its designated slot, aligning it with the existing holes.
Next, insert the feeding carousel. This component ensures the smooth flow of formula powder. Then, attach the stator, making sure to align the red marks for proper positioning.
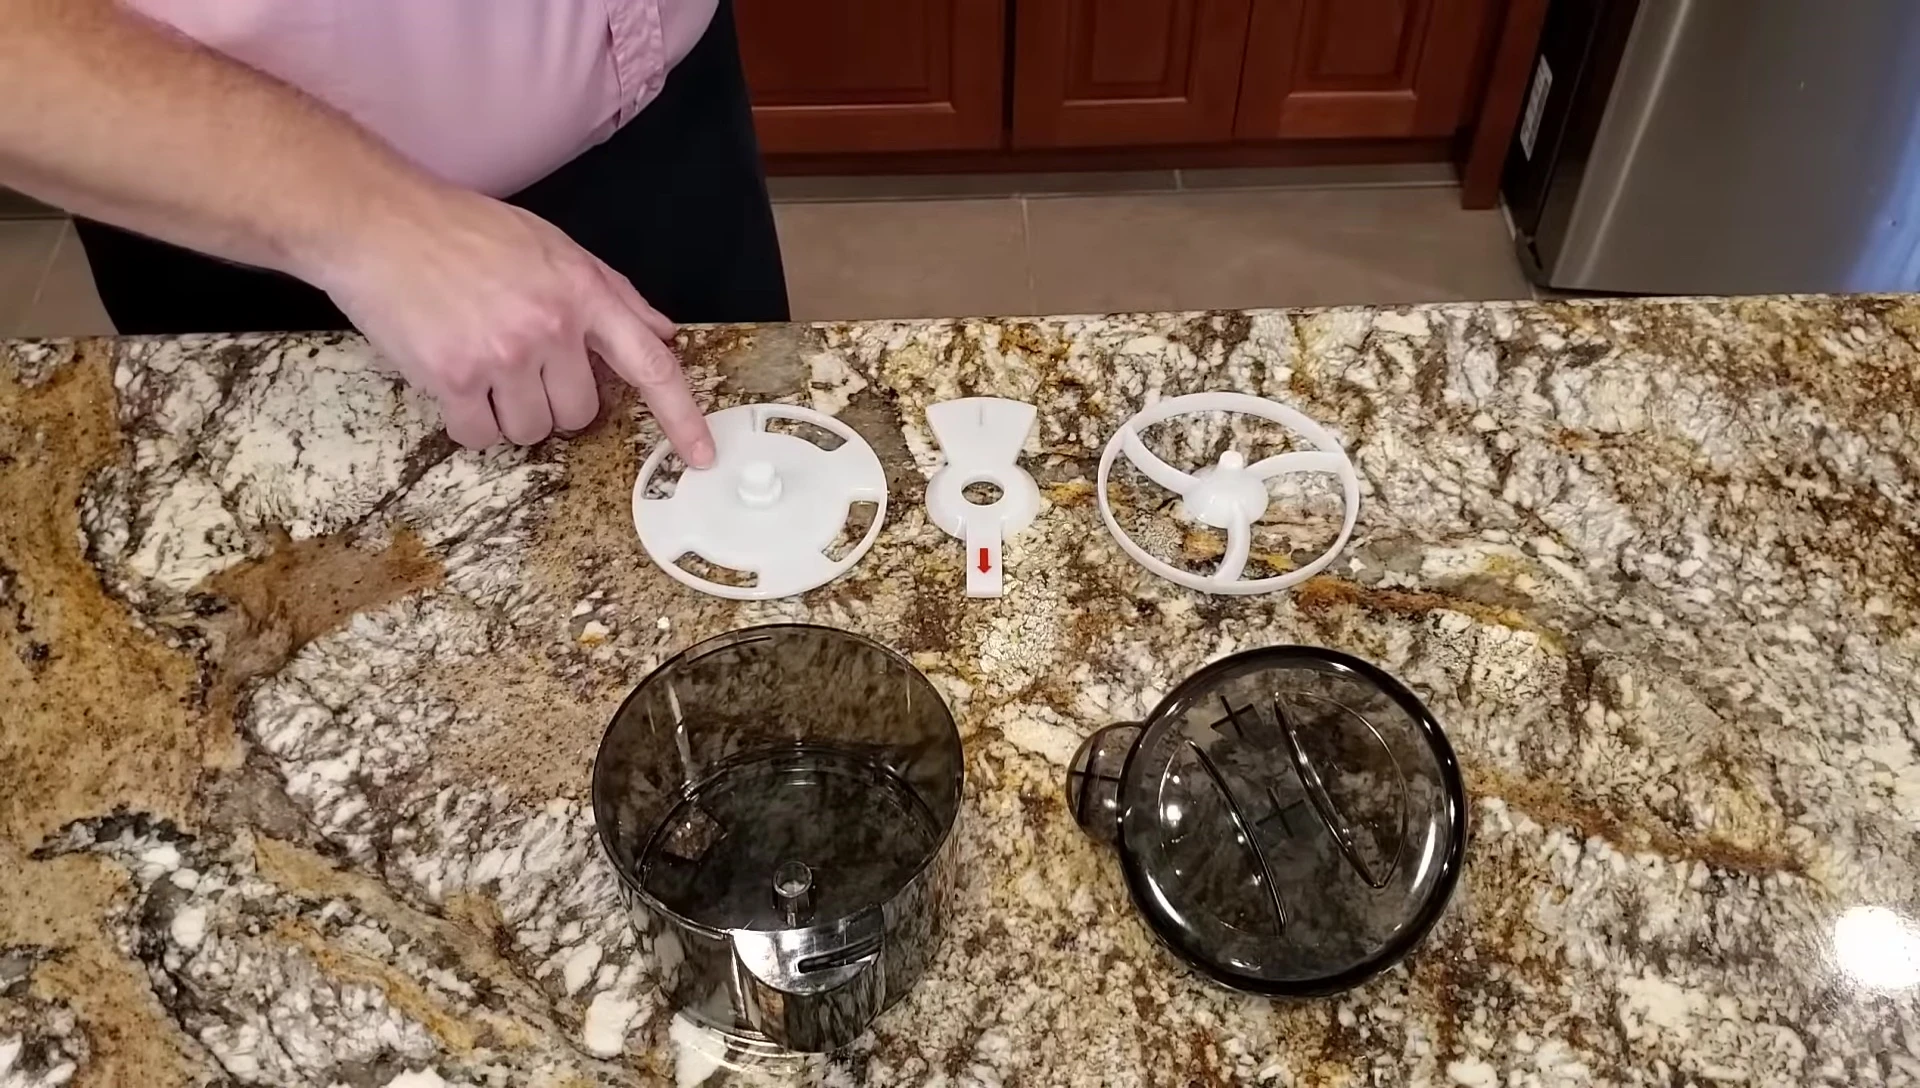
Finally, attach the powder turntable and cover, completing the powder dispensing unit. This unit must be meticulously assembled to prevent any spills or jams during operation.
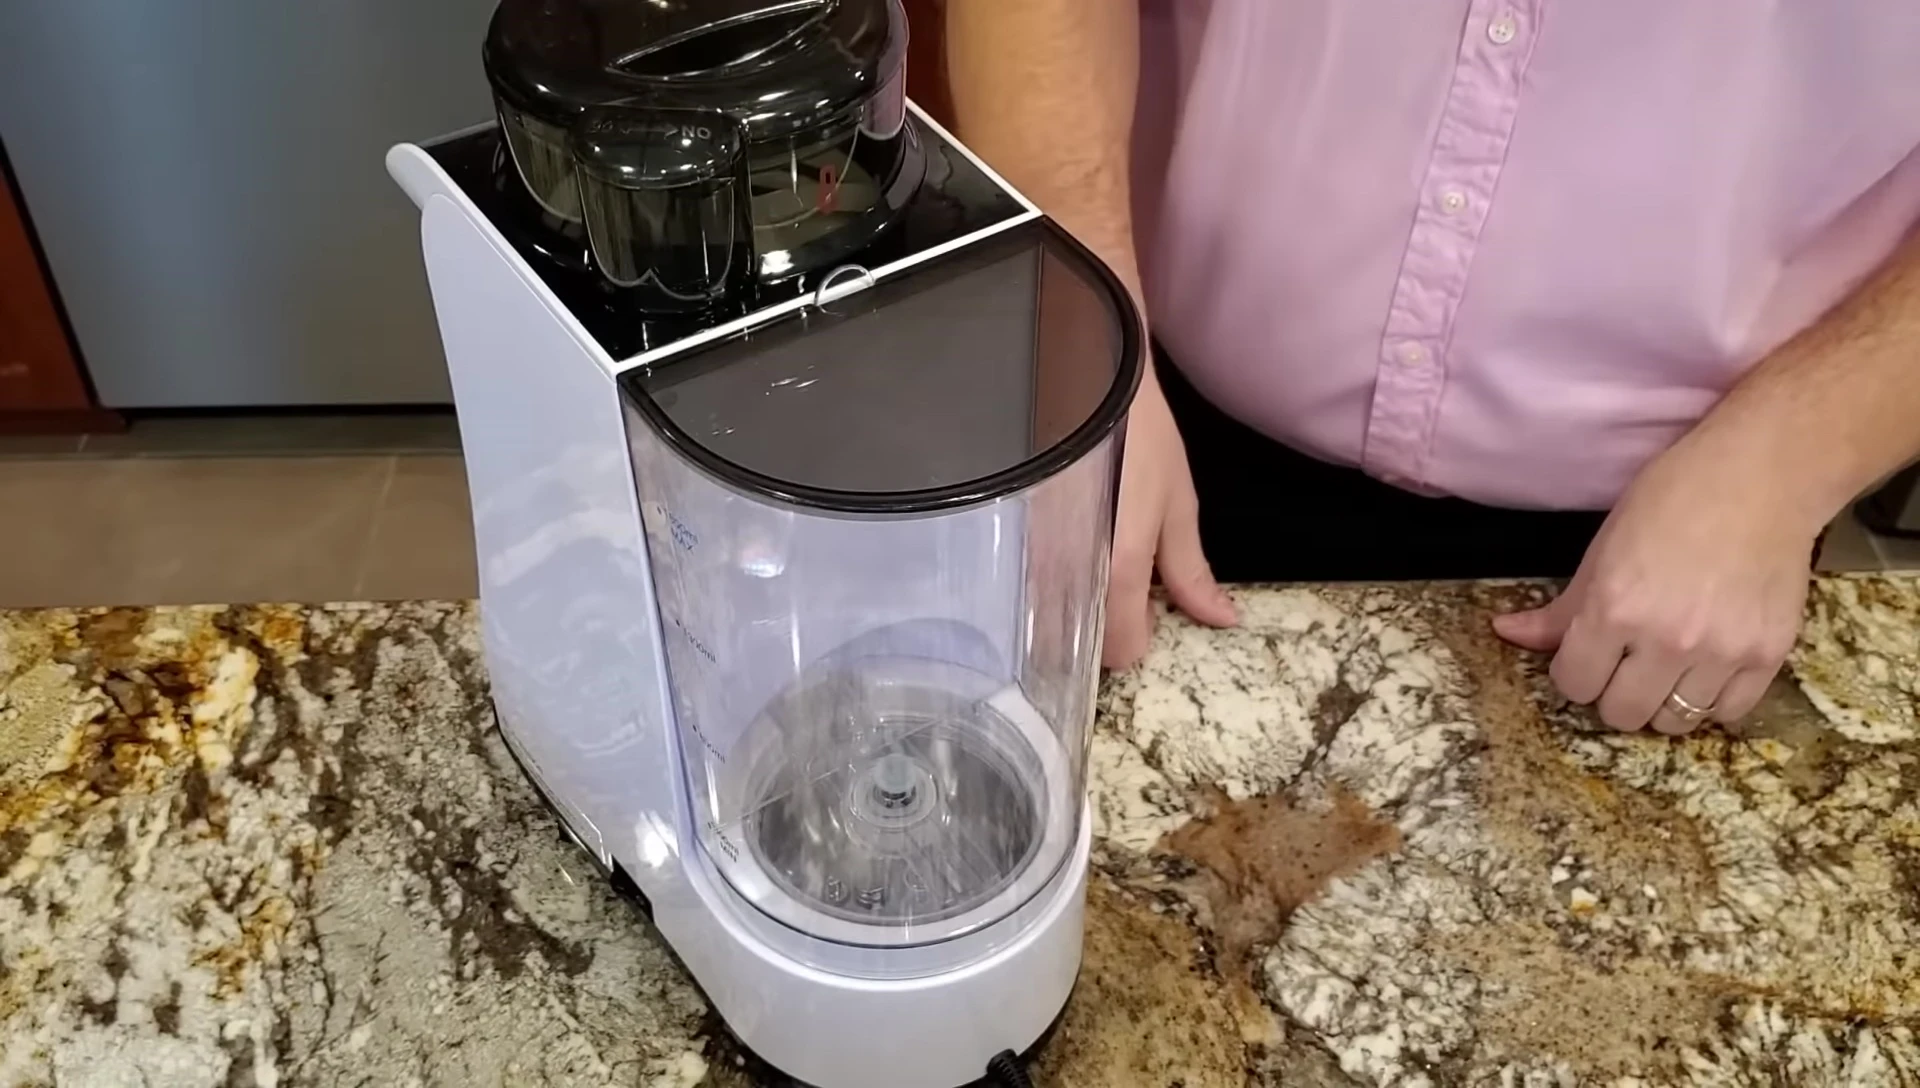
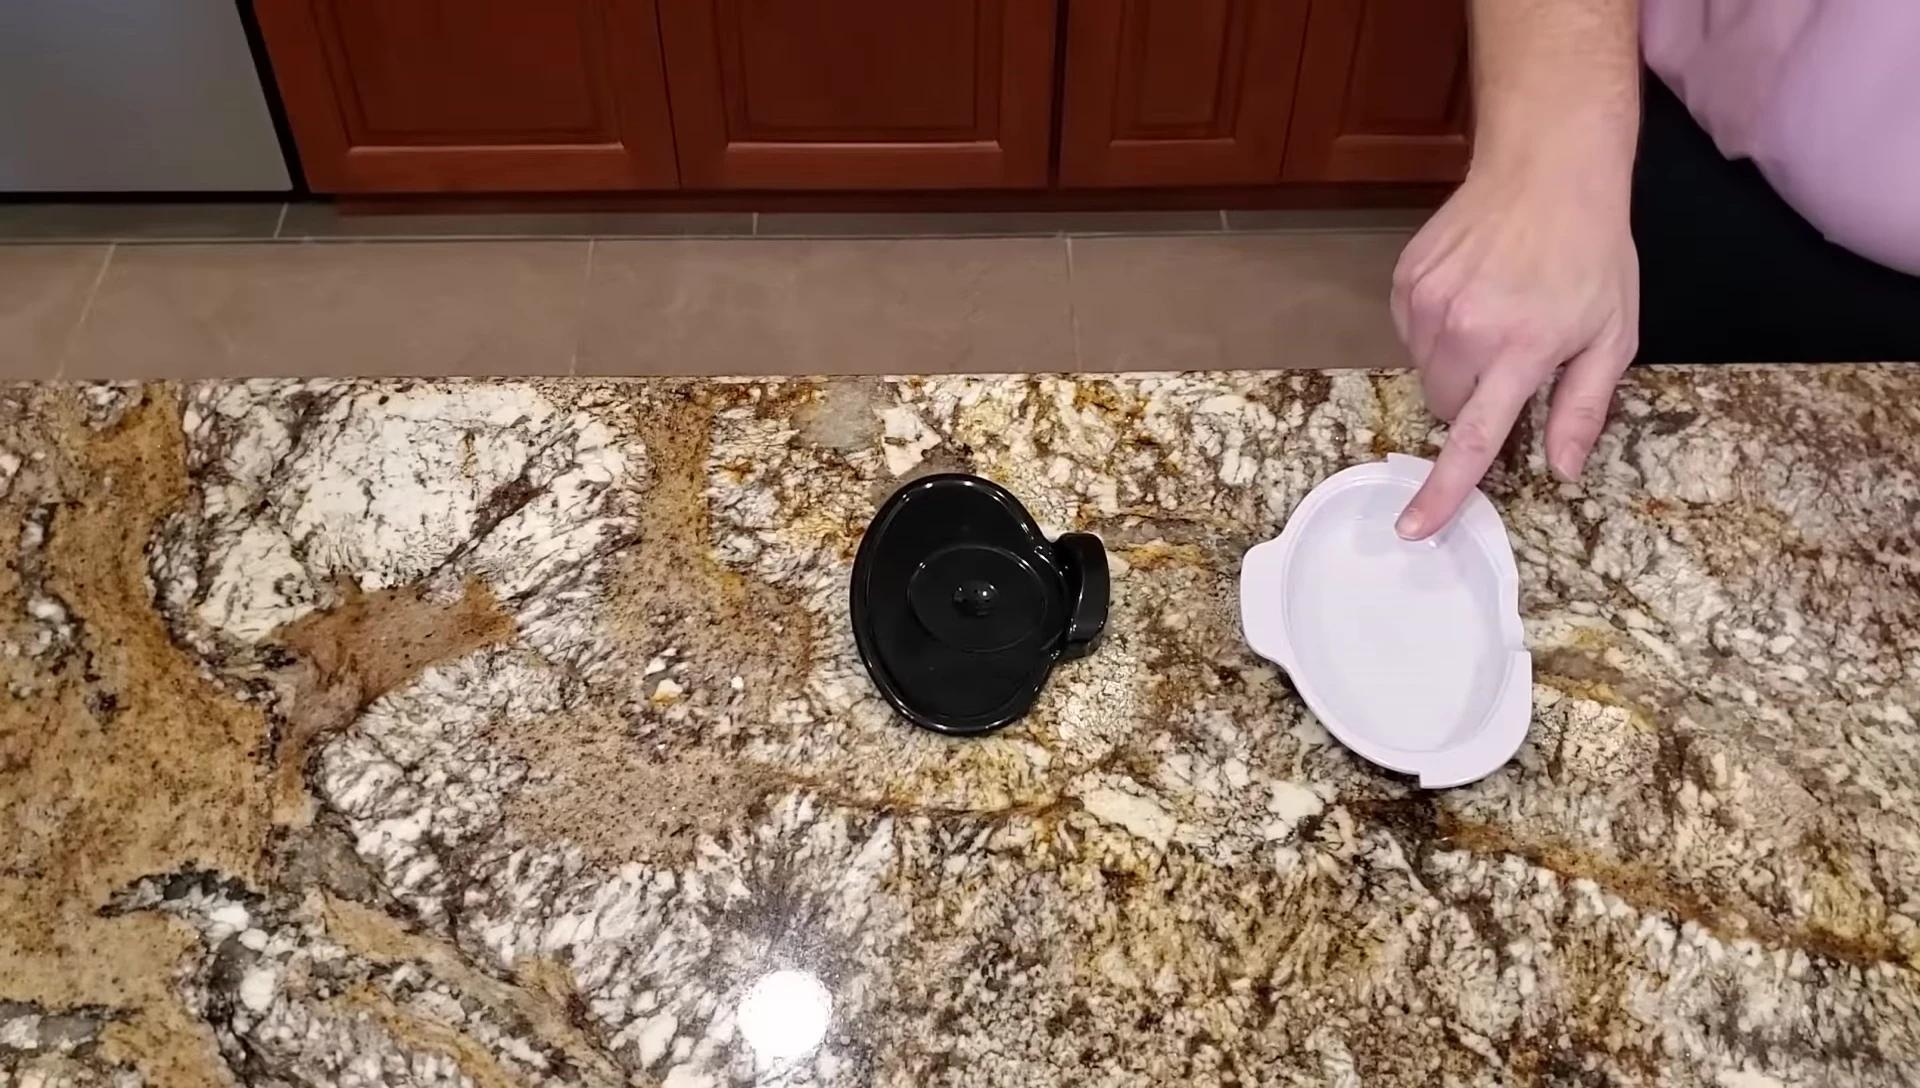
Completing the Assembly: Funnels and Trays
The funnels play a critical role in guiding the formula from the powder dispenser to the mixing chamber. Assemble the upper and lower funnels carefully; they should fit snugly together. Slide this combined funnel unit into the designated slot.

The water tray and adjustment tray are the final components. Insert the water tray at the bottom of the unit. Then, insert the adjustment tray into one of the three available positions to adjust the formula consistency.

Once the water and adjustment trays are in place, the assembly of your Smart Baby EXO is complete. You're now ready to start using it.
Conclusion
The Smart Baby EXO formula dispenser, once assembled, offers a convenient and efficient way to prepare baby formula. The step-by-step process outlined above makes assembly straightforward. Each component, from the water reservoir to the powder dispenser, plays a vital role in ensuring precise and consistent formula preparation.
The clear instructions and the logical design of the device simplify the process. The various adjustment options allow for customization based on the baby's needs. While there are other formula dispensers available, the ease of use and well-defined assembly process are key selling points of the Smart Baby EXO.