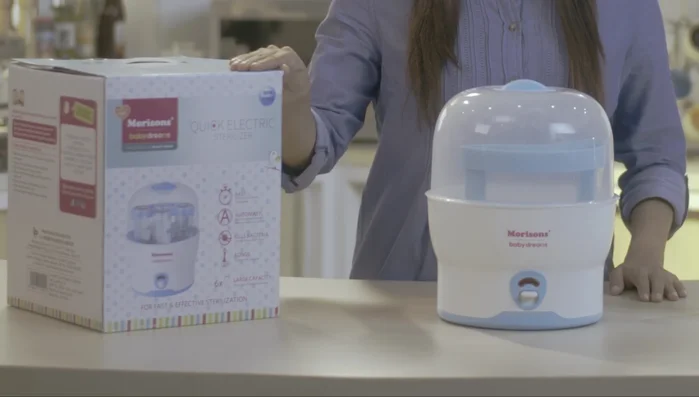
Keeping your baby's feeding equipment hygienically clean is paramount for their health and well-being. The process of sterilizing baby bottles can often feel cumbersome and time-consuming, but what if there was a faster, safer, and more convenient way? The Morrison Electric Sterilizer offers a revolutionary approach to baby bottle sterilization, drastically reducing the effort involved while maintaining the highest standards of hygiene. Its efficient design ensures thorough sterilization, eliminating harmful bacteria and germs that could compromise your baby's delicate immune system.
This innovative sterilizer utilizes [mention sterilization method e.g., steam or UV] technology to deliver a quick and effective clean, making it a must-have for busy parents. Forget the hassle of boiling pots or using harsh chemicals; the Morrison Electric Sterilizer provides peace of mind knowing your baby's bottles are perfectly sanitized. For a comprehensive, step-by-step guide on using the Morrison Electric Sterilizer, continue reading below.
Preparation and Safety Guidelines
- Always ensure the sterilizer is filled with the correct amount of water as indicated in the user manual. Insufficient or excessive water can damage the unit or compromise sterilization.
- Never touch the interior surfaces of the sterilizer immediately after use as they will be extremely hot. Allow adequate cooling time before handling.
- Inspect bottles and nipples for any damage before and after each sterilization cycle. Discard any damaged items.
Step-by-Step Instructions
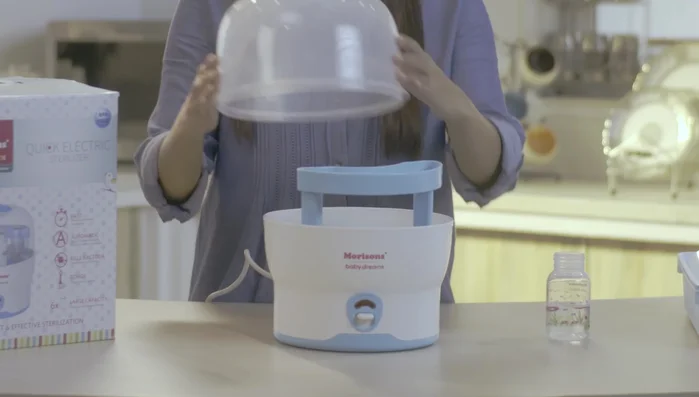
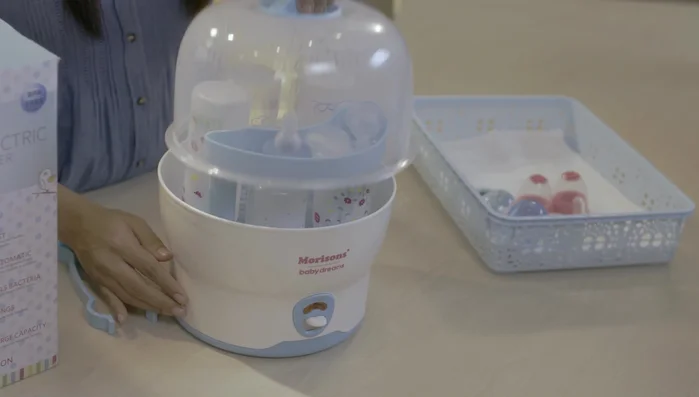
Setup
- Plug the sterilizer into an electrical socket.
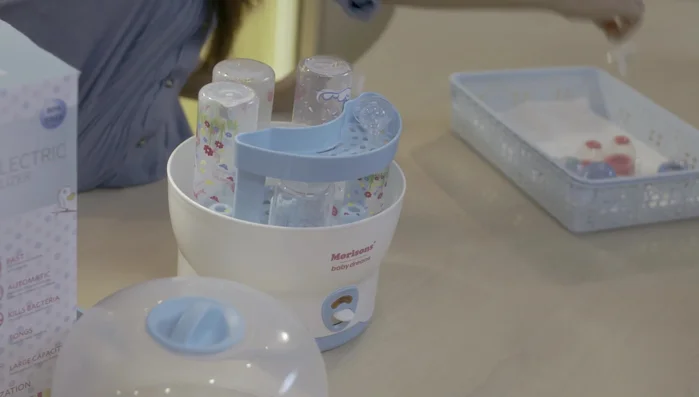
- Open the lid and place washed bottles in the lower tray and nipples/accessories in the upper tray.
- Measure 75 milliliters of water and pour it into the tray.

Setup Sterilization
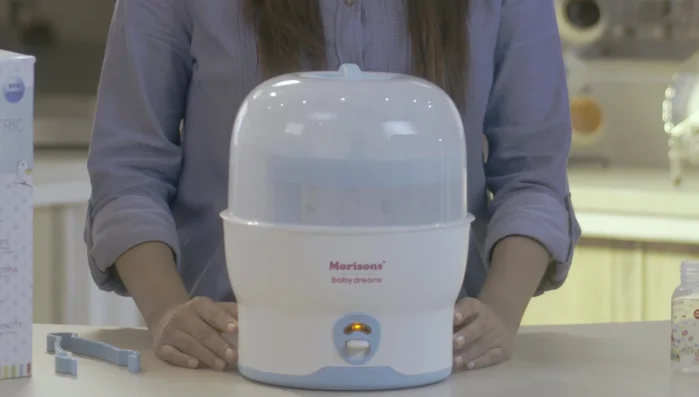
- Close the lid and press the power button.
- Wait 8 minutes for sterilization (automatic shutoff).
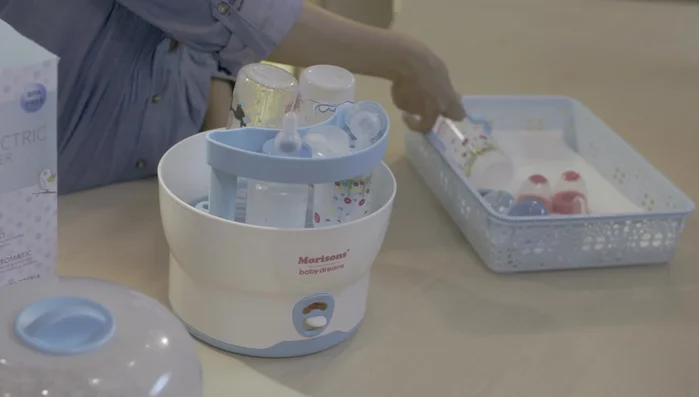
Sterilization Cooling and Removal
- Allow the sterilizer to cool for 5 minutes.
- Use the tongs to remove the sterilized bottles.
Cooling and Removal
Read more: Tommy Tipi UV Sterilizer: The Ultimate Guide to Baby Bottle Sterilization
Tips
- The sterilizer has an automatic shutoff and thermostatic control for safety and ease of use.
- Steam sterilization effectively kills harmful germs and bacteria.