Keeping your baby's bottle warm on the go can be a challenge, especially with the unpredictable nature of outings. A crocheted bottle cover offers a stylish and practical solution, providing insulation and a comforting layer for your little one's feeding time. This tutorial will guide you through creating a cozy, custom-fit cover specifically designed for the Avent 125ml baby bottle, using easy-to-follow instructions even for beginners. Forget bulky and inconvenient bottle warmers; this charming cover is both adorable and functional.
This pattern utilizes simple crochet stitches, making it a perfect project for those new to crochet or looking for a quick and satisfying craft. The finished product will not only protect your baby's bottle from bumps and temperature fluctuations but also add a personal touch, transforming a simple feeding necessity into a cherished item. Ready to get started? Let's dive into the step-by-step instructions to create your own adorable Avent 125ml baby bottle cover.
Preparation and Safety Guidelines
- Two colors of wool
- Size three hook
- Always supervise a baby while they are using a bottle, even with a cover.
- Ensure the crochet cover is securely fastened and does not pose a choking hazard. Avoid loose yarn or embellishments.
- Wash the crochet cover thoroughly before first use and after each use with baby-safe detergent. Air dry completely.
Step-by-Step Instructions
Create the Base Ring
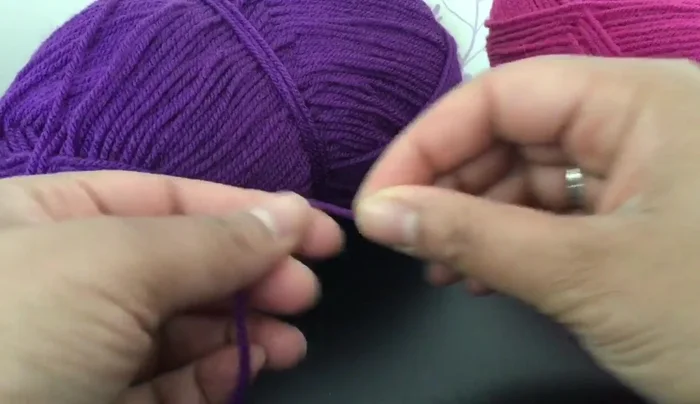
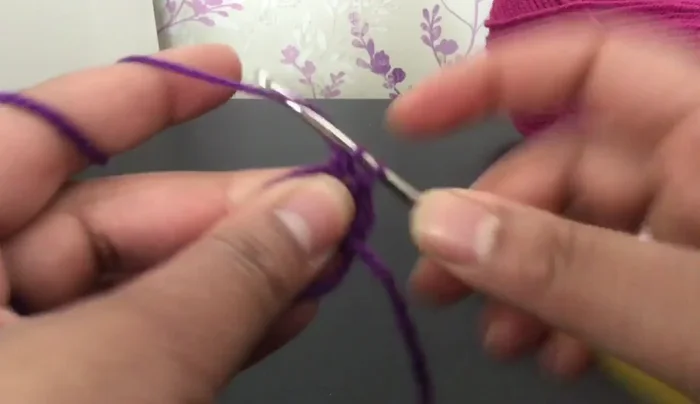
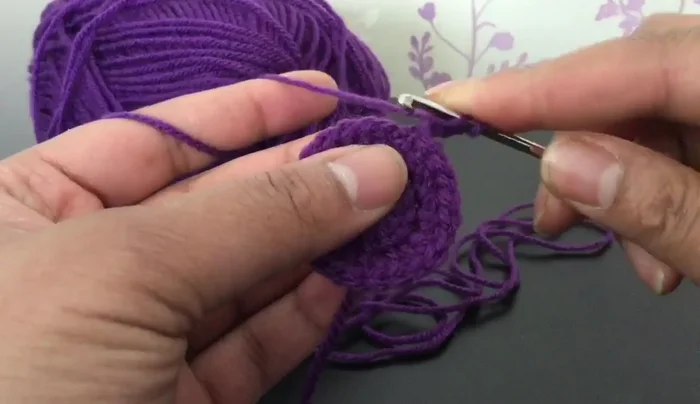
- Make a magic ring or chain three and join to form a ring.
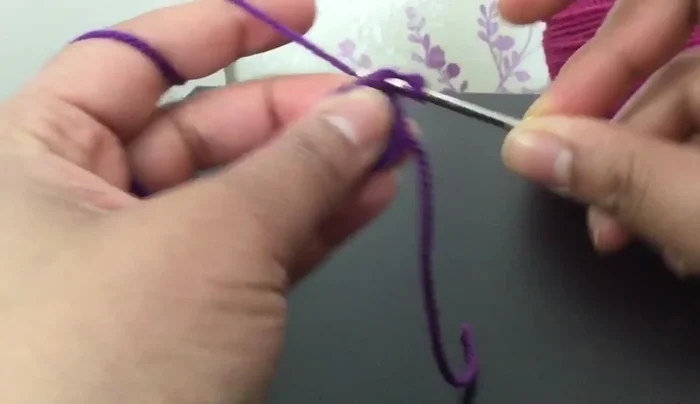
- Chain three (counts as a double crochet), then work 12 double crochets into the ring.
- Slip stitch to join the round. Chain three.

Create the Base Ring First Increase Round
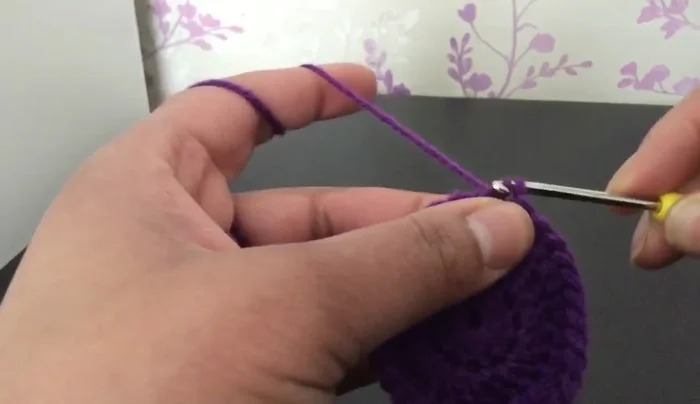
- Work two double crochets in each stitch around (24 double crochets total). Slip stitch to join.
First Increase Round Second Increase Round
- *Work two double crochets in the first stitch, then one double crochet in each of the next two stitches; repeat from * around. Slip stitch to join.
Second Increase Round Third Increase Round & Fit Check
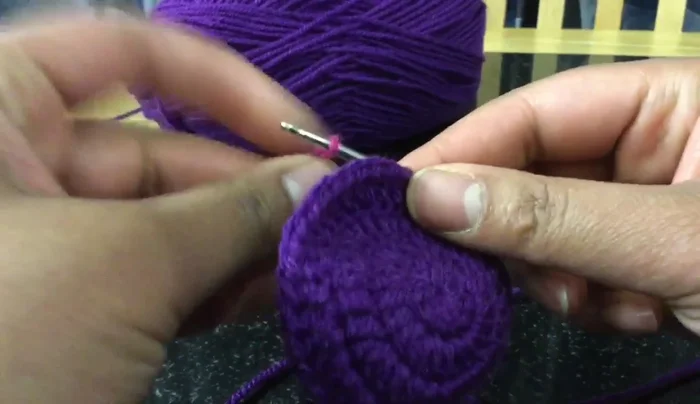
- Work three double crochets in each stitch around. Slip stitch to join.
Third Increase Round & Fit Check Color Change
- Change to second color. Slip stitch to join and fasten off first color. Chain three.
Color Change Main Body
- Continue working double crochet stitches in each stitch around for several rows until you reach the desired height for the bottle cover.
Main Body Finishing Round
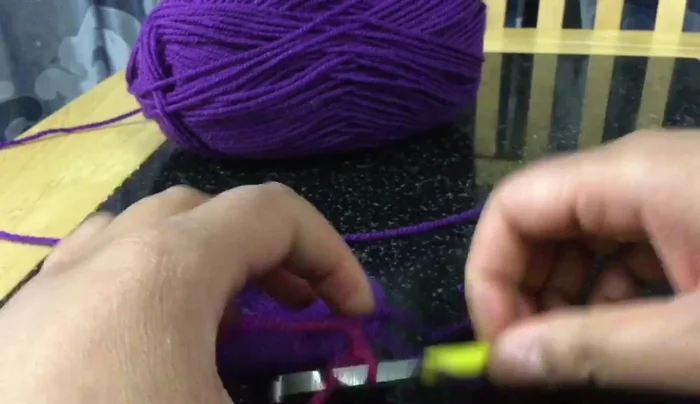
- Chain two, then work half double crochet stitches around. Fasten off and weave in ends.
Finishing Round
Read more: Unboxing & Review: Slow Flow Stage 1 Baby Bottles
Tips
- The method of making a magic ring is demonstrated in the video, but you can use your own preferred method.
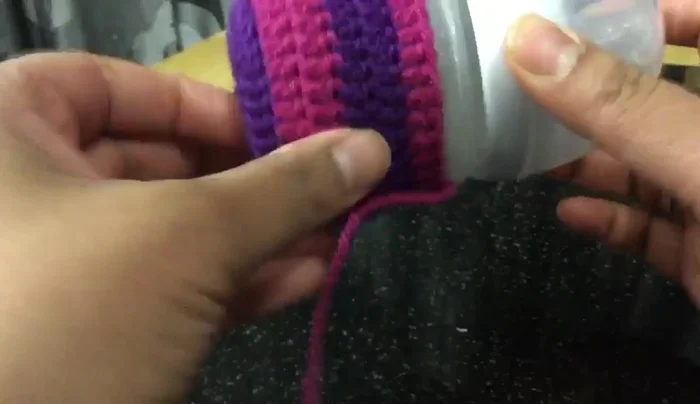
- Check the fit of the cover against your bottle frequently to ensure it's the right size.
- Adjust the number of rows based on the height of your bottle.