The relentless cycle of feeding a baby often leaves parents feeling overwhelmed, and sterilizing bottles adds another layer to this demanding routine. Finding a quick, efficient, and reliable method for ensuring your baby's bottles are perfectly clean and germ-free is paramount. Enter the Baby Brezza One Step Sterilizer Dryer Advance – a game-changer for busy parents seeking effortless hygiene. This advanced system promises to simplify the often tedious process of bottle sterilization and drying, saving you valuable time and energy while providing peace of mind. Forget the fuss of multiple steps and cumbersome equipment.
This innovative device streamlines the entire process, from sterilization to drying, all within a single, compact unit. We'll delve into a comprehensive, step-by-step guide explaining exactly how to use the Baby Brezza One Step Sterilizer Dryer Advance, detailing each function and offering helpful tips for optimal results. Get ready to discover how easy it is to maintain a sparkling clean and healthy feeding environment for your little one.
Preparation and Safety Guidelines
- Baby Brezza One Step Sterilizer Dryer Advance
- Distilled water
- Soft moist cloth
- 50/50 water and vinegar mix (optional)
- Baby Brezza descaler solution (optional)
- Always ensure the unit is properly assembled and the water reservoir is filled to the correct level before each cycle. Improper assembly or insufficient water can lead to malfunction or damage.
- Never touch the interior surfaces of the unit while it's operating or immediately after, as they will be extremely hot. Allow sufficient time for cooling before handling.
- Regularly inspect the unit for any signs of wear and tear, particularly the seals and heating elements. Replace any damaged parts immediately to ensure optimal performance and safety.
Step-by-Step Instructions
Setup and Preparation
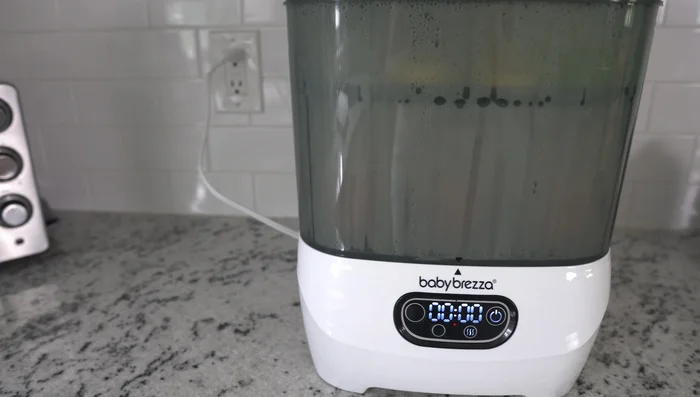
- Place the appliance on a flat surface near an outlet, away from children. Carry the system by holding the bottom base.
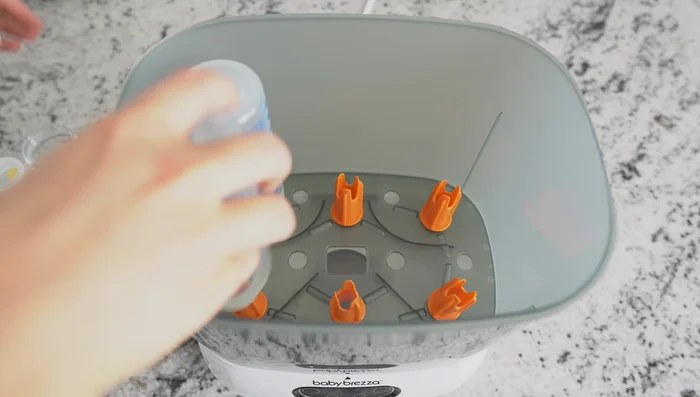
- Remove the lid, baskets, and accessory rack from the sterilizer base. Pour water to the max line on the base/heater surface. Avoid overfilling; pour out excess water away from the fan opening.
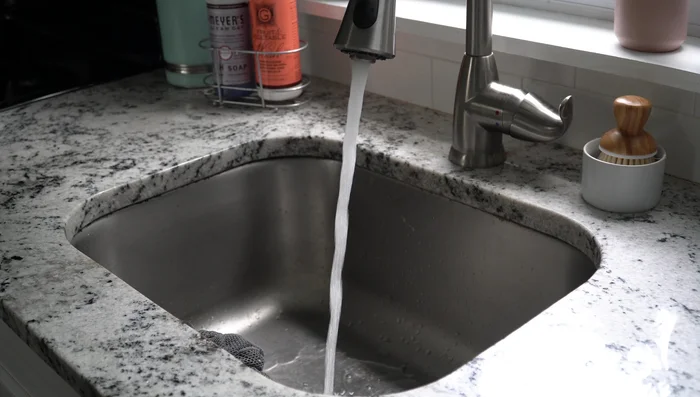
- Use distilled water to prevent mineral scale buildup. Wipe surfaces with a soft, moist cloth after each use. Clean brown spots with a 50/50 water and vinegar mix or descaler solution.
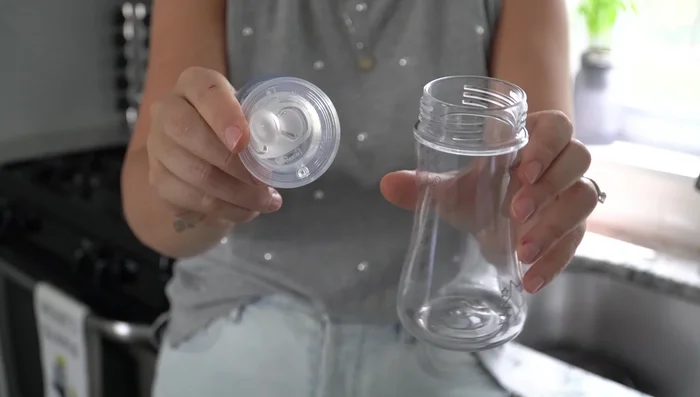
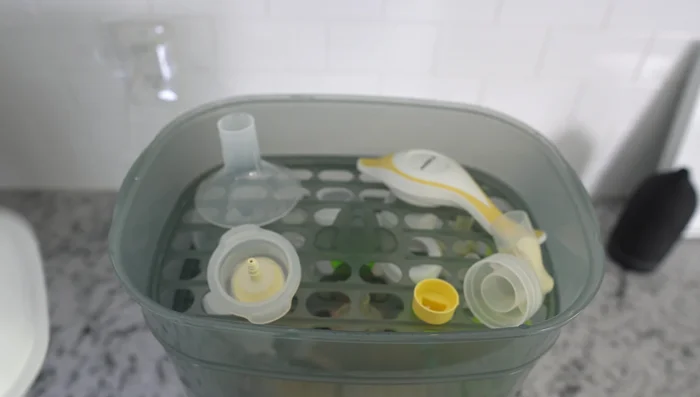
- Ensure all items are emptied, clean, and rinsed. Choose your desired basket configuration (both bins, larger lower bin, smaller top bin, with or without accessory tray).

Setup and Preparation Loading the Sterilizer
- Place the lower basket on the base, add bottles and pump parts, then add the upper basket (if using) and lid. Leave space around items for steam circulation.
Loading the Sterilizer Selecting and Running a Cycle
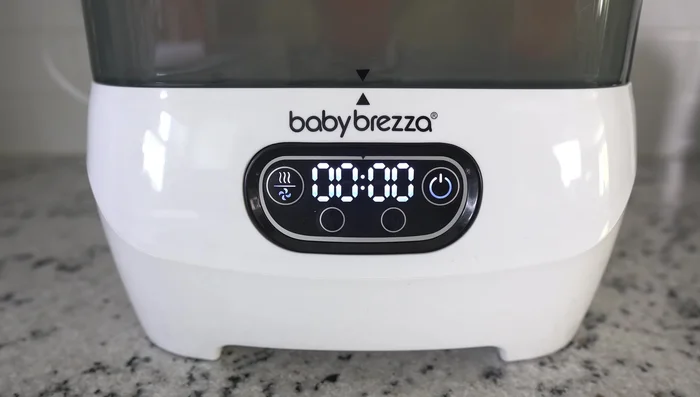
- sterilize & dry, sterilize only, or dry only. For sterilize only, press the button once; for drying only, press the button 1-3 times to select 30, 45, or 60 minutes drying time.
- The sterilize-only cycle takes about 12 minutes. Keep the lid closed during sterilization. The drying cycle time depends on your selection.
Selecting and Running a Cycle Unloading and Maintenance
- Replace the HEPA filter every three months.
- After the cycle completes (signaled by three beeps), items can remain in the sterilizer for up to 24 hours in a sterile environment. Use tongs to remove items if needed.
Unloading and Maintenance
Tips
- Carry the sterilizer by holding the bottom base to prevent dropping it.
- Leave some space around items in the baskets to allow for proper steam circulation.
- Longer drying times might be needed for larger stacks of items.